
0
Owner's of the Canon Camcorder XF205 gave it a score of 0 out of 5. Here's how the scores stacked up:

105
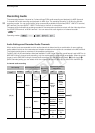
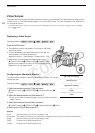
Recording Audio
English
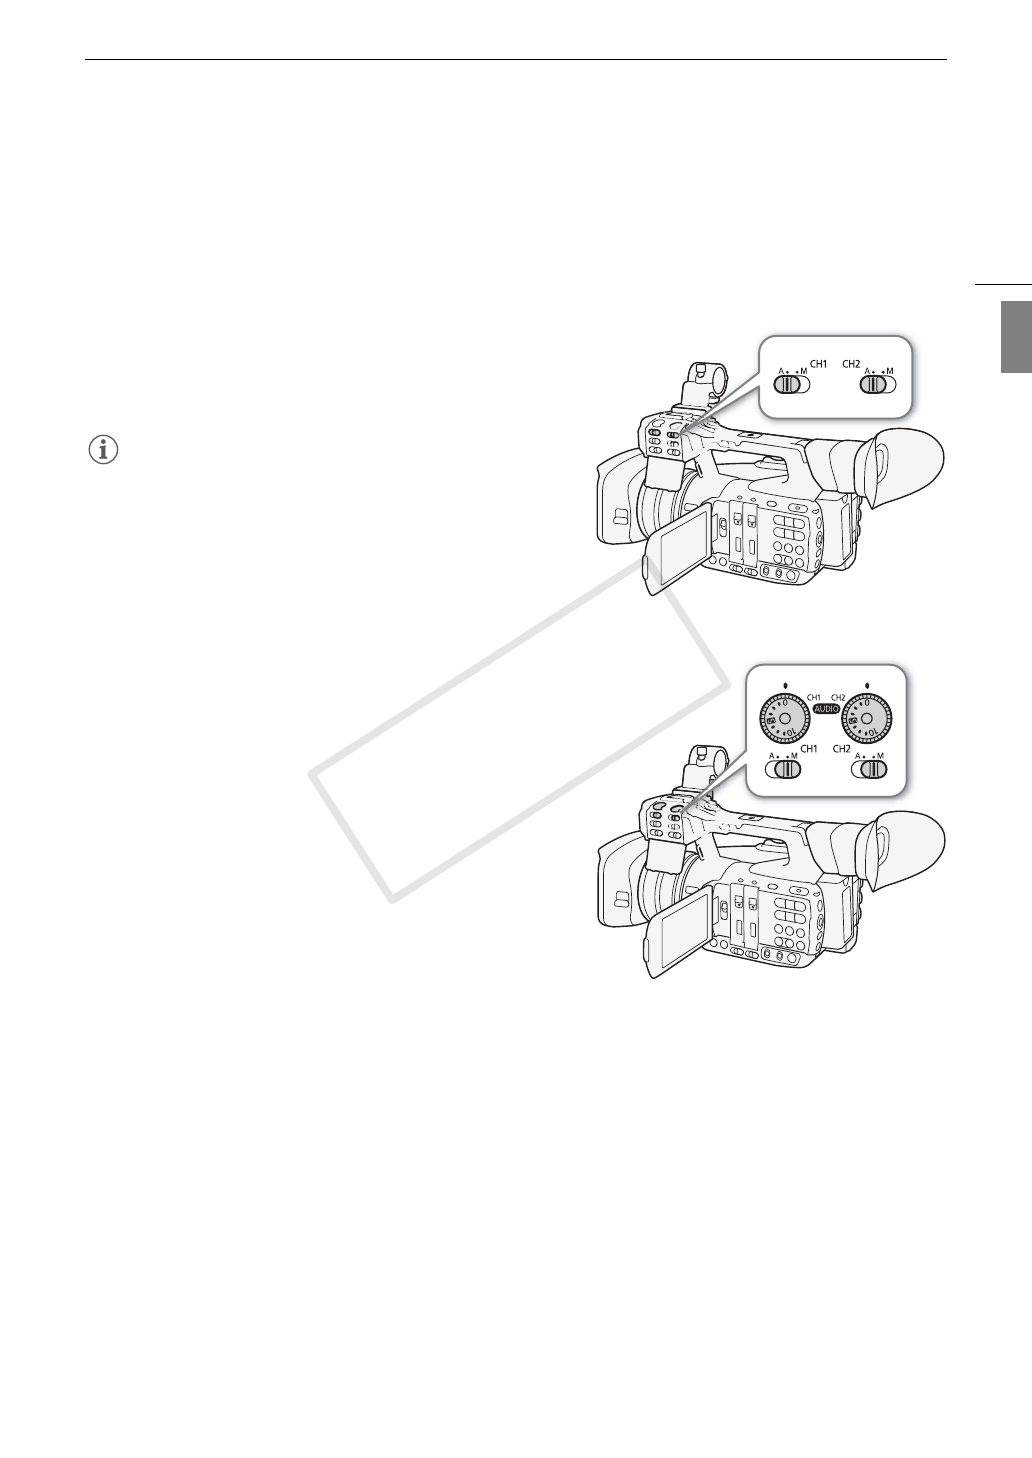
Adjusting the Audio Level
For CH1 and CH2, you can set the audio recording level to automatic or manual adjustment separately for each
channel. However, when the AUDIO IN selection switches for CH1 and CH2 are both set to INT.MIC/MIC (built-in
microphone or external microphone connected to the MIC terminal), the audio recording level settings for CH1
are applied also to CH2.
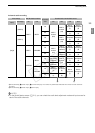
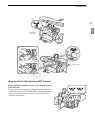
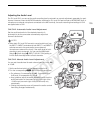
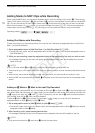
CH1/CH2: Automatic Audio Level Adjustment
Set the audio level switch of the desired channel to A
(automatic) to let the camcorder automatically adjust that
channel’s audio level.
NOTES
• When both CH1 and CH2 are set to record audio input from
the INPUT 1/INPUT terminals and both INPUT 1 and INPUT 2
switches are set to the same audio source (external
microphone or external line input), if the audio level for both
channels is set to automatic, you can use the [¡ Audio
Setup] > [Audio Input] > [INPUT 1&2 ALC Link] setting to
link the audio level adjustment of both channels.
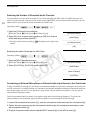
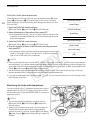
CH1/CH2: Manual Audio Level Adjustment
You can set the audio level for each channel manually from -G
to 18 dB.
1 Set the audio level switch of the desired channel to M.
2 Turn the corresponding – dial to adjust the audio level.
• For reference, 0 corresponds to -G, 5 corresponds to
0 dB, and 10 corresponds to +18 dB.
• As a guideline, adjust the audio recording level so that the
audio level meter on the screen will go to the right of the
-18 dB mark (one mark right of the -20 dB mark) only
occasionally.
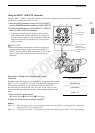
• Closing the protective cover will prevent the audio controls
from being changed inadvertently.
C OPY


Find Your Products By Category
Please Login
