
0
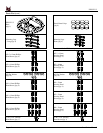
Owner's of the Premier Mounts Indoor Furnishings Low-Profile Universal Projector Mount gave it a score of 0 out of 5. Here's how the scores stacked up:
PDS-PLUS
Installation Instructions Page - 9 -
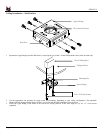
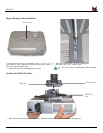
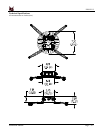
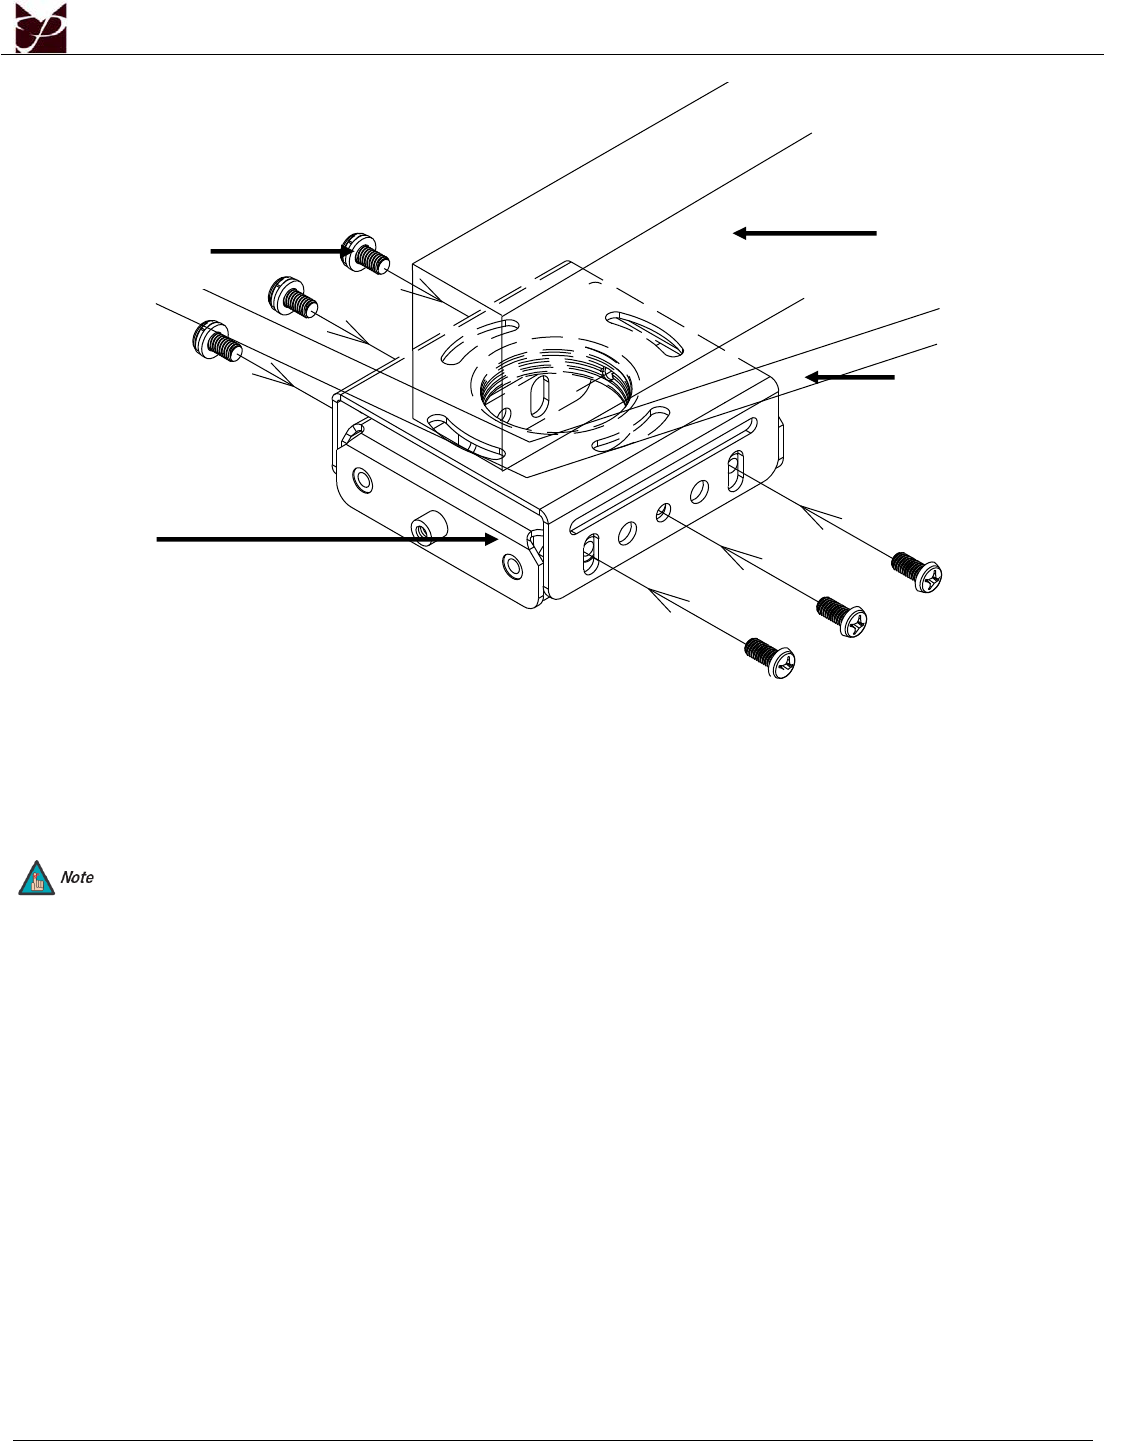
4. Attach the base box to the upper bridge and secure with the six (6) M6 x 12mm Phillips Head screws (above). DO NOT
OVERTIGHTEN THESE SCREWS AT THIS TIME.
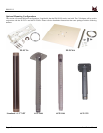
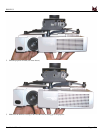
Concrete Mounting
The PDS-PLUS can be mounted to a ceiling with a minimum 6” thickness. Concrete wedge anchors must be used for
concrete installation. It is recommended that ¼” wedge anchors be used. A masonry bit must be used to drill the pilot hole.
These can be purchased at your local hardware store.
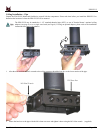
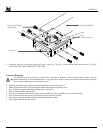
1. Begin by placing the upper bridge into position against the ceiling, keeping it level.
2. Mark off four holes to be used for securing the mount and place the upper bridge aside.
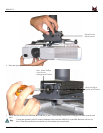
3. Next, drill holes using the appropriate masonry bit for your anchor.
4. Insert a concrete anchor into each hole.
5. If necessary, a hammer can be used to lightly tap each anchor into place so that they are flush with the ceiling.
6. Once all of the anchors are in place, move the upper bridge back into position.
7. Attach the nut onto the threaded shaft that is protruding from the ceiling.
8. Do not tighten until all nuts are in place.
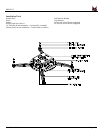
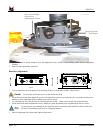
Ceiling Wood Stud
Ceiling Surface
Base Box
M6 x 12mm Phillips
Head Screw


Find Your Products By Category
Please Login
