
0
Owner's of the Premier Mounts Indoor Furnishings Low-Profile Universal Projector Mount gave it a score of 0 out of 5. Here's how the scores stacked up:
PDS-PLUS
Page - 10 - Installation Manual
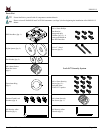
Attaching the PDS-PLUS to the Projector
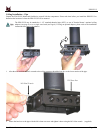
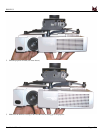
To truly show the versatility of the PDS-PLUS, the following pictures will show a variety of configurations that can be
achieved with the PDS-PLUS. Your individual application will depend on the purchased projector.
To truly show the versatility of the ELE-UPROJB, the following pictures will show a variety of configurations that can be
achieved with the ELE-UPROJB. Your individual application will depend on the purchased projector.
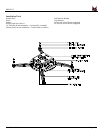
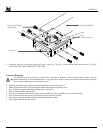
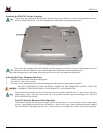
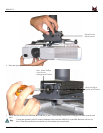
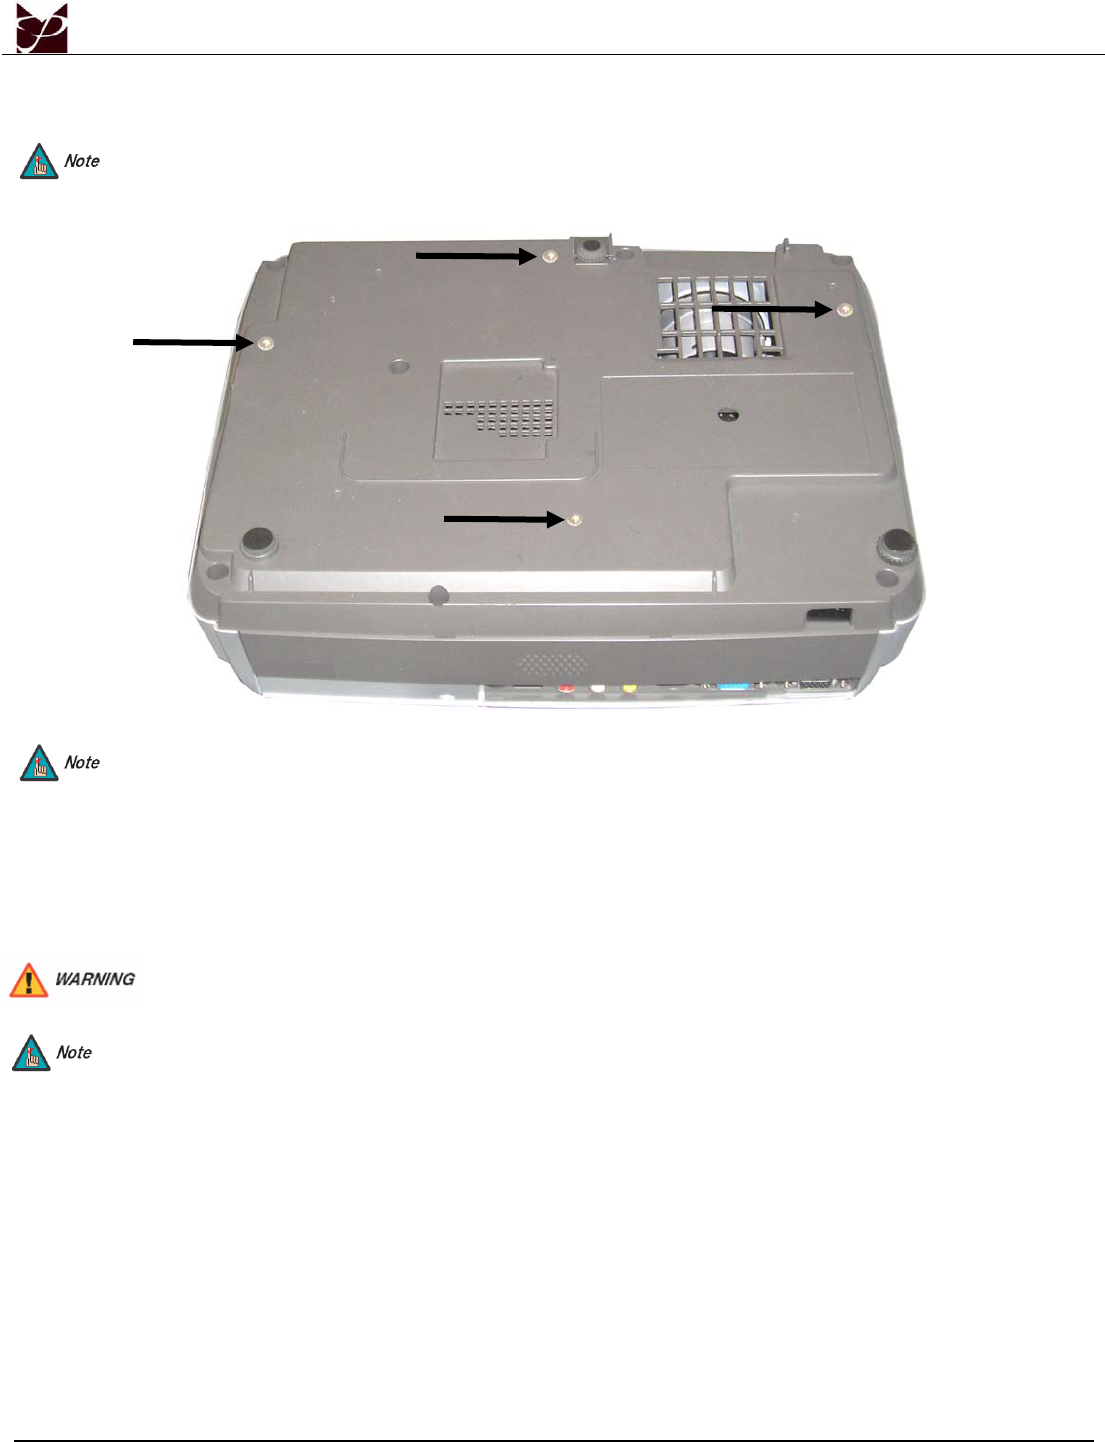
1. Locate the mounting points on the bottom of the projector (see arrows above for sample mounting points).
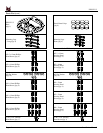
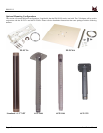
Selecting the Proper Mounting Hardware
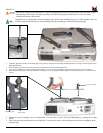
1. Turn the projector over and locate the mounting points.
2. Test each size of the screws provided.
3. The correct screws should thread easily into the mounting point and not pull out when pressure is applied.
DO NOT OVERTIGHTEN YOUR MOUNTING SCREWS TO THE PROJECTOR CHASSIS. USING THE
INCORRECT SCREW DEPTH MAY CAUSE DAMAGE TO YOUR PROJECTOR.
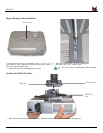
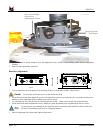
The optional M3 flat washers may be used to decrease the screw depth of either the M2.5 x 12mm screws or the M3 x
16mm screws. Place a M3 flat washer inside the leveling barrel and then insert the mounting screw. DO NOT
OVERTIGHTEN THIS SCREW.
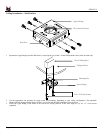
Lock-It™ Security Hardware Pack (Optional)
The PDS-PLUS comes with the option of using Lock-It™ Security Screws. To use the security screws, simply replace
the M6 x 12mm Phillips Pan head screws with the M6 x 12mm security screws. Once the hardware has been changed,
adjust the PDS-PLUS and tighten down the M6 x 12mm security screws using the M5 Security Allen wrench (supplied).


Find Your Products By Category
Please Login
