
0
Owner's of the Premier Mounts Indoor Furnishings Low-Profile Universal Projector Mount gave it a score of 0 out of 5. Here's how the scores stacked up:
PDS-PLUS
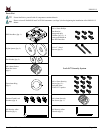
Installation Manual Page - 11 -
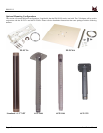
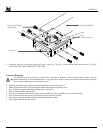
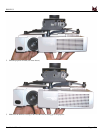
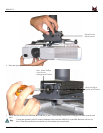
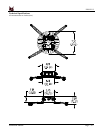
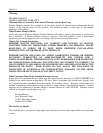
Depending on your application, the long mounting legs and the short mounting legs may be used together. There are
multiple configurations that may be used combining the long mounting legs with the short mounting legs.
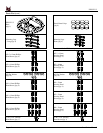
2. Attach the appropriate number of mounting legs to the projector using the corresponding mounting hardware (see Page 10, Selecting the Proper
Mounting Hardware).
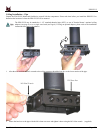
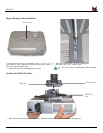
3. If the mounting legs need to be leveled, rotate the leveling barrels to level the mounting bracket.
4. To raise the mounting legs, rotate the leveling barrel clock-wise. To lower the mounting leg, rotate the leveling barrel counter clock-wise.
5. When the desired position is achieved, tighten the mounting screws to the projector and then tighten the hex head leg screws with the M5 Allen
wrench.
6. Position the legs accordingly for best configuration. You may raise or lower each leg independently by turning the leveling
barrels.
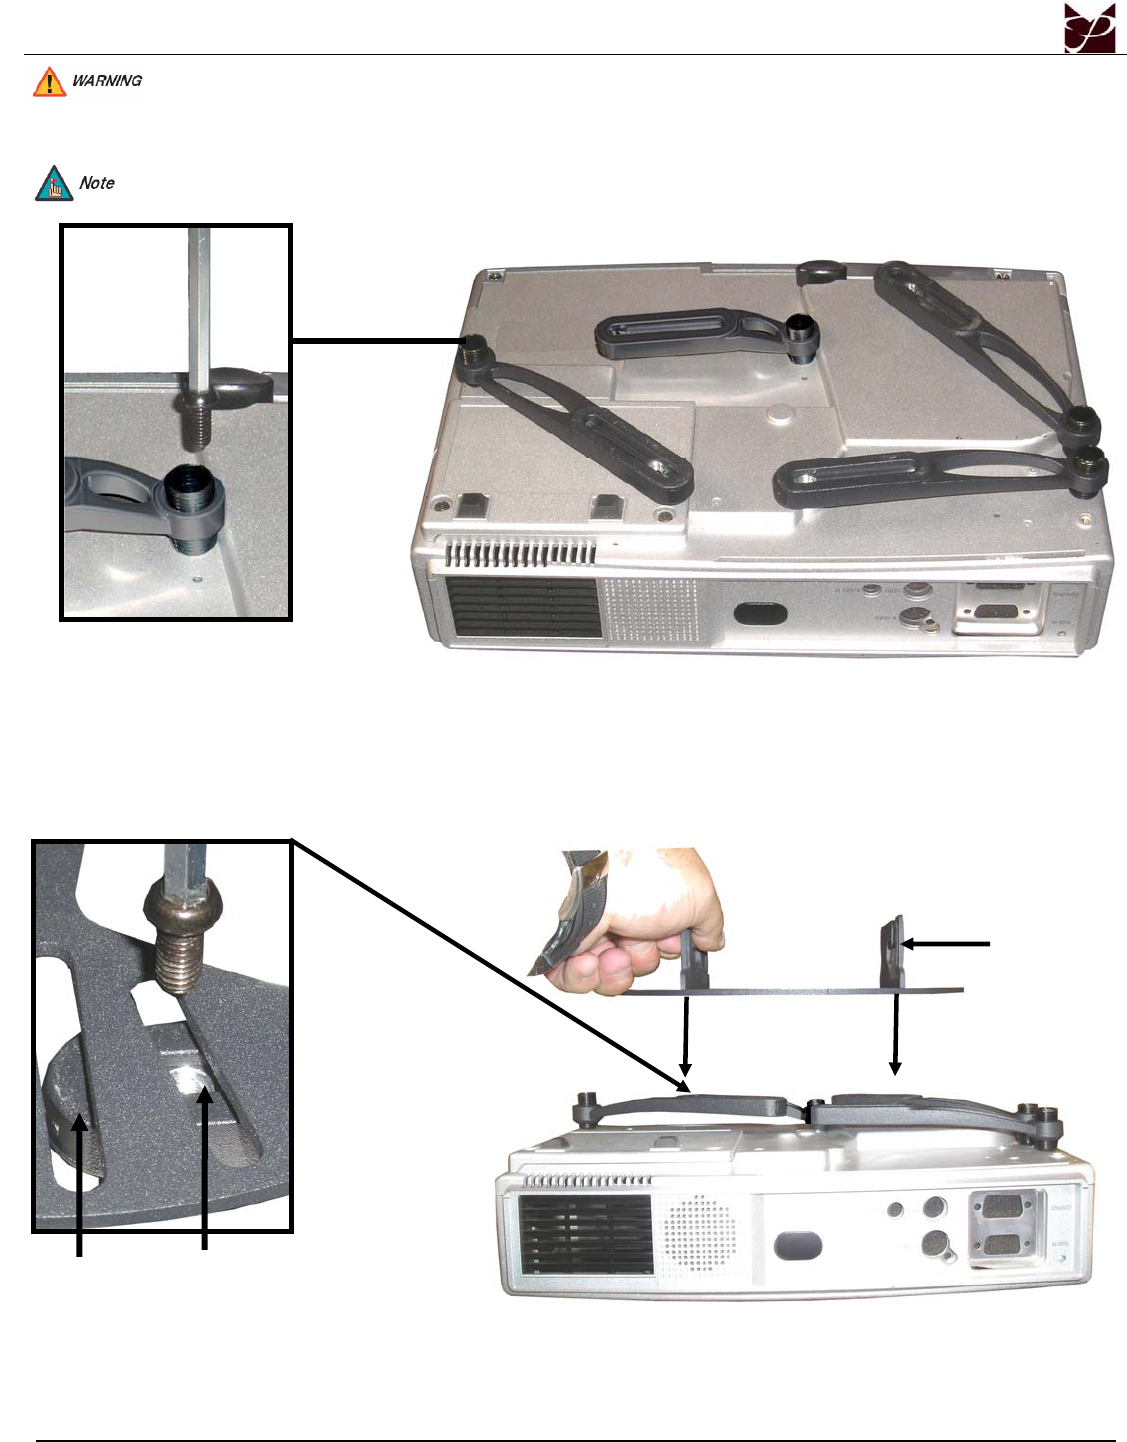
7. Secure the legs to the projector plate by screwing M6 x 12mm security screws into the M6 square nut (do not overtighten) on the
mounting legs.
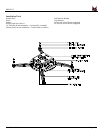
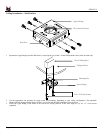
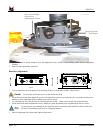
Mounting Leg
Projector Plate
Square Nut
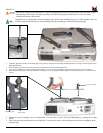
Only attach to the projector manufacturer’s specified mounting points on the projector chassis with a minimum of three
mounting legs. Please follow all safety instructions specified by the projector manufacturer as well as the safety
instructions outlined in this manual.


Find Your Products By Category
Please Login
