
0
Owner's of the Premier Mounts Indoor Furnishings Low-Profile Universal Projector Mount gave it a score of 0 out of 5. Here's how the scores stacked up:
PDS-PLUS
Page - 15 - Installation Manual
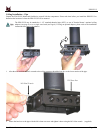
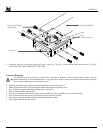
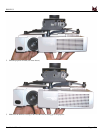
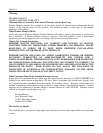
6. Once the mount is safely attached, insert and tighten the four (4) M6 x 12mm Phillips Head Screw w/ Integrated
Washers.
7. Make all final adjustments at this time.
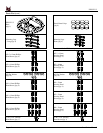
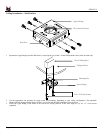
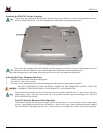
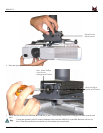
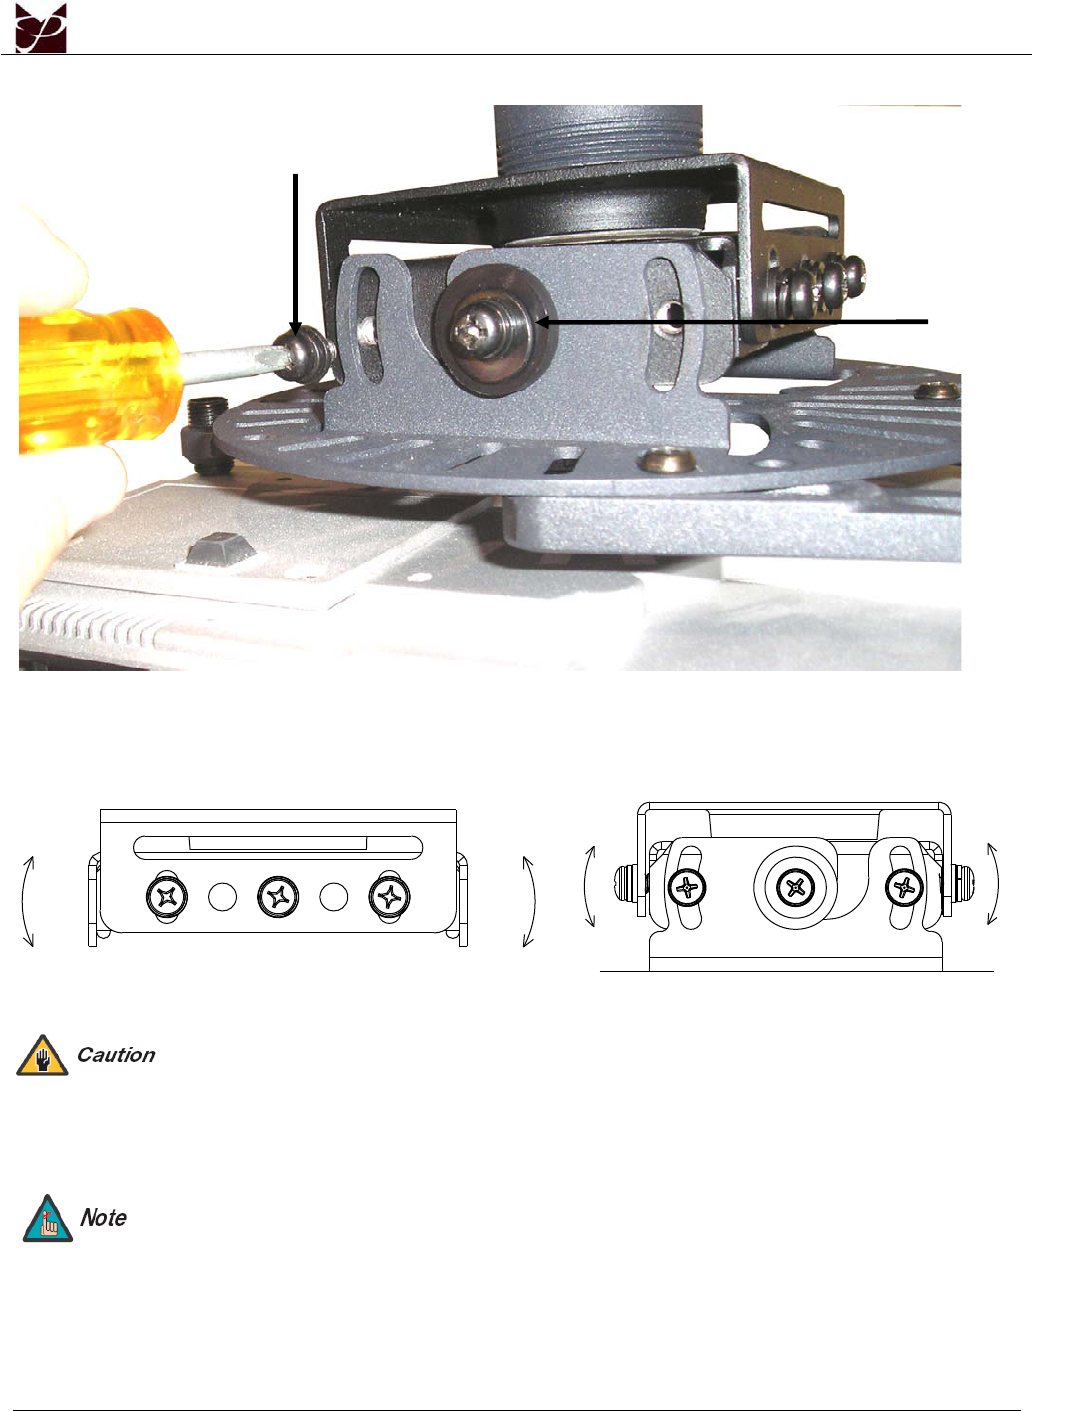
Base Box Adjustment
Roll
Tilt
1. You can adjust the roll of the projector by loosening the three (3) front and rear M6 x 12mm screws.
Do not fully loosen the screws, as the mount may drop.
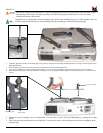
2. Set the desired roll and then tighten the screws. First tighten the center screws and work your way to the outside screws,
making any final adjustments prior to tightening the last two screws.
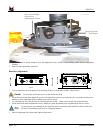
3. You can adjust the tilt of the projector by loosening the two (2) M6 x 12mm screws on each side of the Base Box.
4. Set the desired tilt and then tighten the screws, making any final adjustments prior to tightening the last two screws.
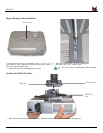
If your projector is not holding the tilt, install the four (4) internal/external tooth lock washers on the four
(4) M6 x 12mm Phillips head screws w/ Integrated Washers.
5. Once all adjustments have been made, tighten all hardware.
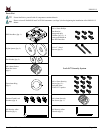
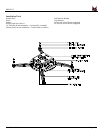
Hinge Pin Screw
and Washer
M6 x 12mm Phillips
Head Screw
w/Integrated Washer


Find Your Products By Category
Please Login
