
0
Owner's of the Sharp Car Video System PN-L803C LCD MONITOR gave it a score of 0 out of 5. Here's how the scores stacked up:
19
E
Touch Panel / Touch Pen Preparations
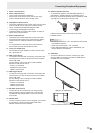
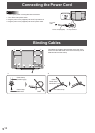
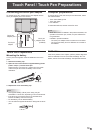
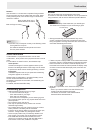
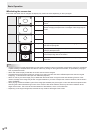
Connecting the touch pen adapter
To use the touch pen, insert the touch pen adapter into the
touch pen adapter port on the monitor.
Touch pen
adaptor
Touch pen
adapter screw
(antitheft)
Touch pen
adapter port
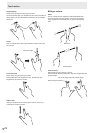
Touch Pen Preparations
n
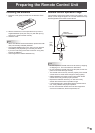
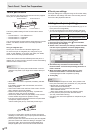
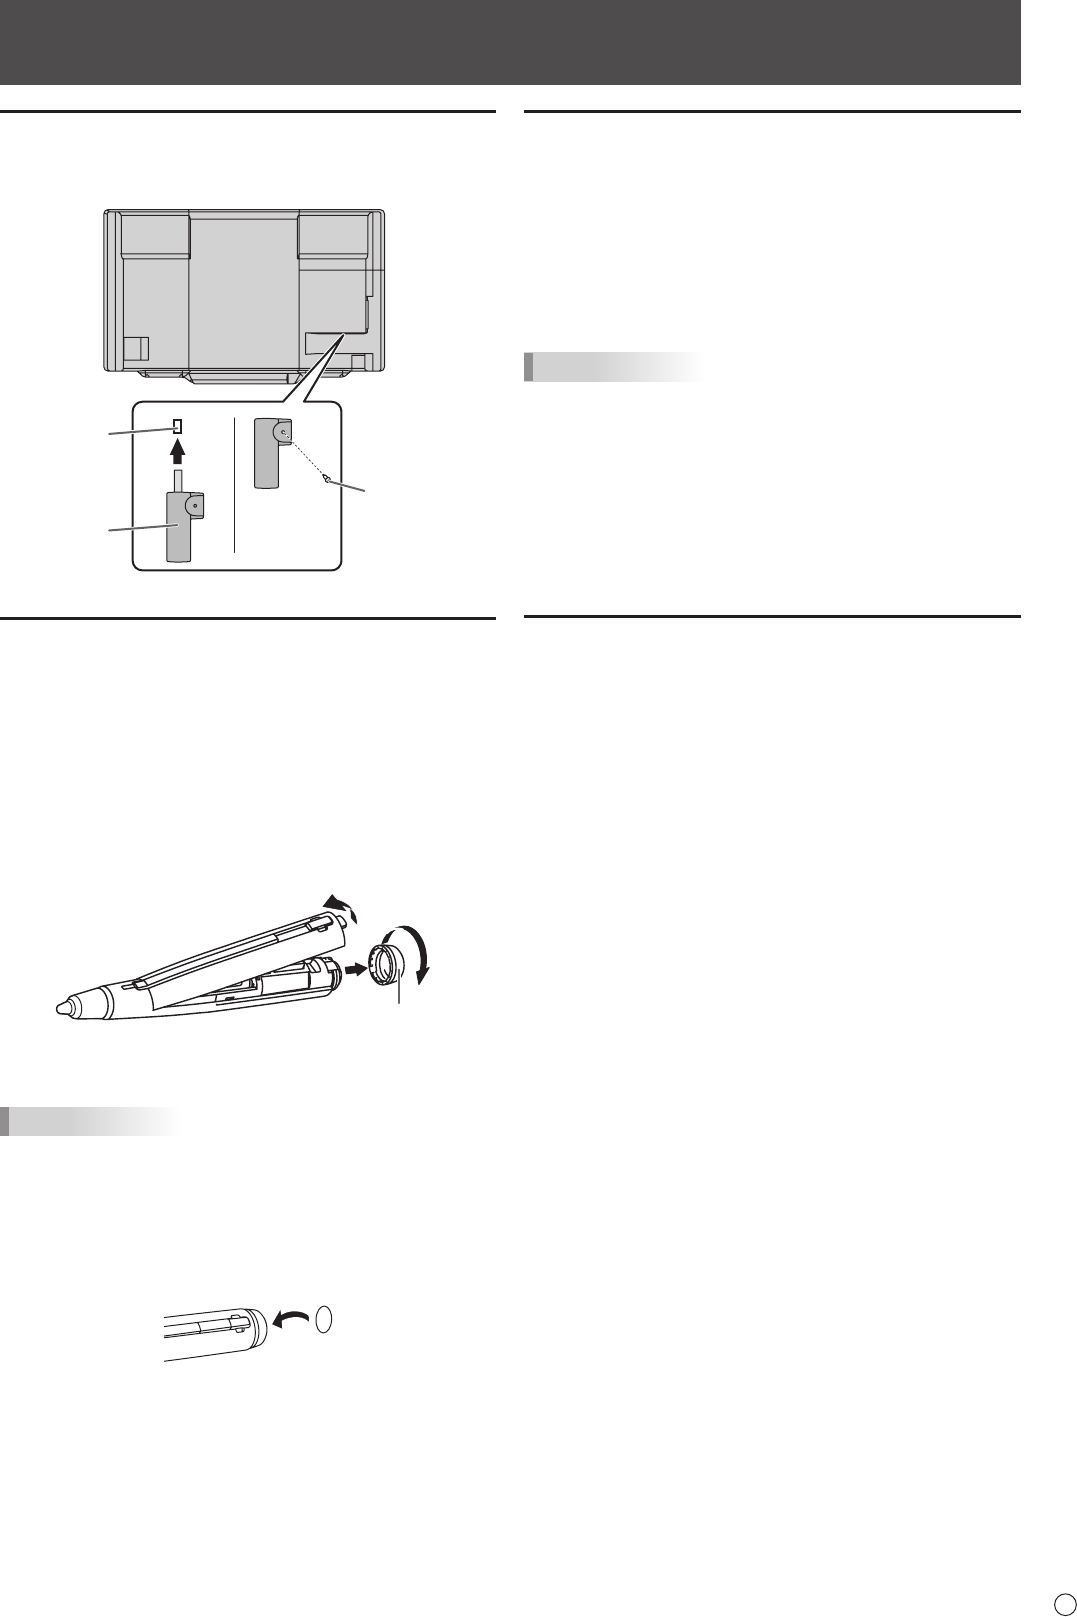
Inserting the battery
2 touch pens are supplied. Insert the batteries in the touch
pens.
1. Remove the battery cap.
2. Open the cover and insert the supplied battery (LR-03
(“AAA” size) x 1) into the touch pen.
Check the plus (+) and minus (-) markings on the inside
of the touch pen and insert the battery in the correct
orientation.
CAPACITIVE
Battery cap
2
1
3. Replace the cover and battery cap.
TIPS
• The supplied battery (LR-03 (“AAA” size)) may be
exhausted in a short time, depending on how it was stored.
• If the touch pen will not be used for an extended time,
remove the battery from the touch pen.
• For the battery, use an alkaline battery.
• You can afx the supplied ID labels to distinguish the touch
pens.
Computer preparations
To use the touch panel, the touch pen and the eraser, install
the software below.
• Touch Panel Settings Tool
• Touch Pen Utility
• Pen Software
To install the software, see the manual for each.
TIPS
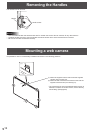
• When the monitor is installed in the portrait orientation, the
operation of the touch pen, eraser, and pen software are
not guaranteed.
Installed in portrait orientation
- The touch pen adapter does not need to be connected.
- The Touch Pen Utility and Pen Software do not need to
be installed.
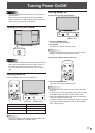
Calibration
If the touch position is out of place, perform position alignment.
Perform calibration from the Touch Panel Settings Tool. For
details, see the Touch Panel Settings Tool Operation Manual.


Find Your Products By Category
Please Login
