
0
Owner's of the Kramer Electronics Vacuum Cleaner Kramer Electronics Vacuum Cleaner gave it a score of 0 out of 5. Here's how the scores stacked up:

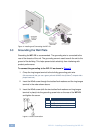
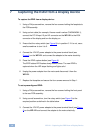
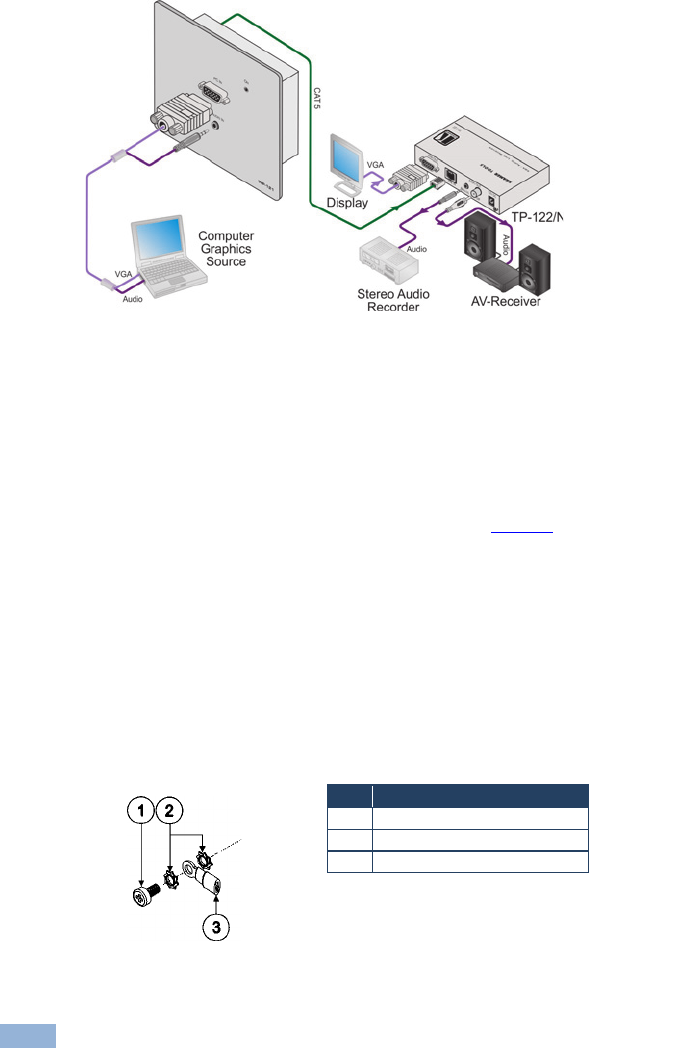
8 WP-121 - Installing and Connecting the WP-121
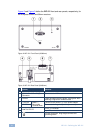
Figure 4: Installing and Connecting the WP-121
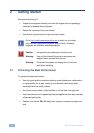
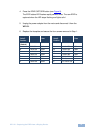
5.3 Grounding the Wall Plate
Grounding the WP-121 is recommended. The grounding wire is connected to the
rear of the chassis of the unit. The grounding screw is used to earth the unit to the
ground of the building. This helps prevent static electricity from interfering with
product performance.
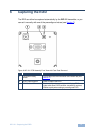
To connect the grounding to the WP-121 as shown in
Figure 5:
1. Crimp the ring-tongue terminal to the building grounding point wire.
(We recommend that you use a green-yellow #18 AWG wire (0.82mm
2
) crimped with a
proper hand-tool).
2. Insert the M3x6 screw through the toothed lock washers and the ring-tongue
terminal in the order shown above.
3. Insert the M3x6 screw (with the two toothed lock washers and ring-tongue
terminal in place) into the grounding screw hole on the rear of the WP-121
and tighten the screw.
Figure 5: Ground Connection
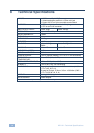
# Item
1 M3x6 Screw
2 M3 Toothed lock washers
3 M3 Ring tongue terminal


Find Your Products By Category
Please Login
