
0
Owner's of the Canon Camcorder Canon XA10 Professional Camcorder gave it a score of 0 out of 5. Here's how the scores stacked up:

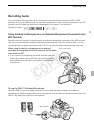
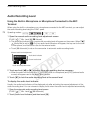
Recording Audio
75
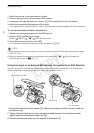
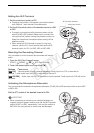
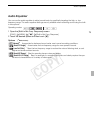
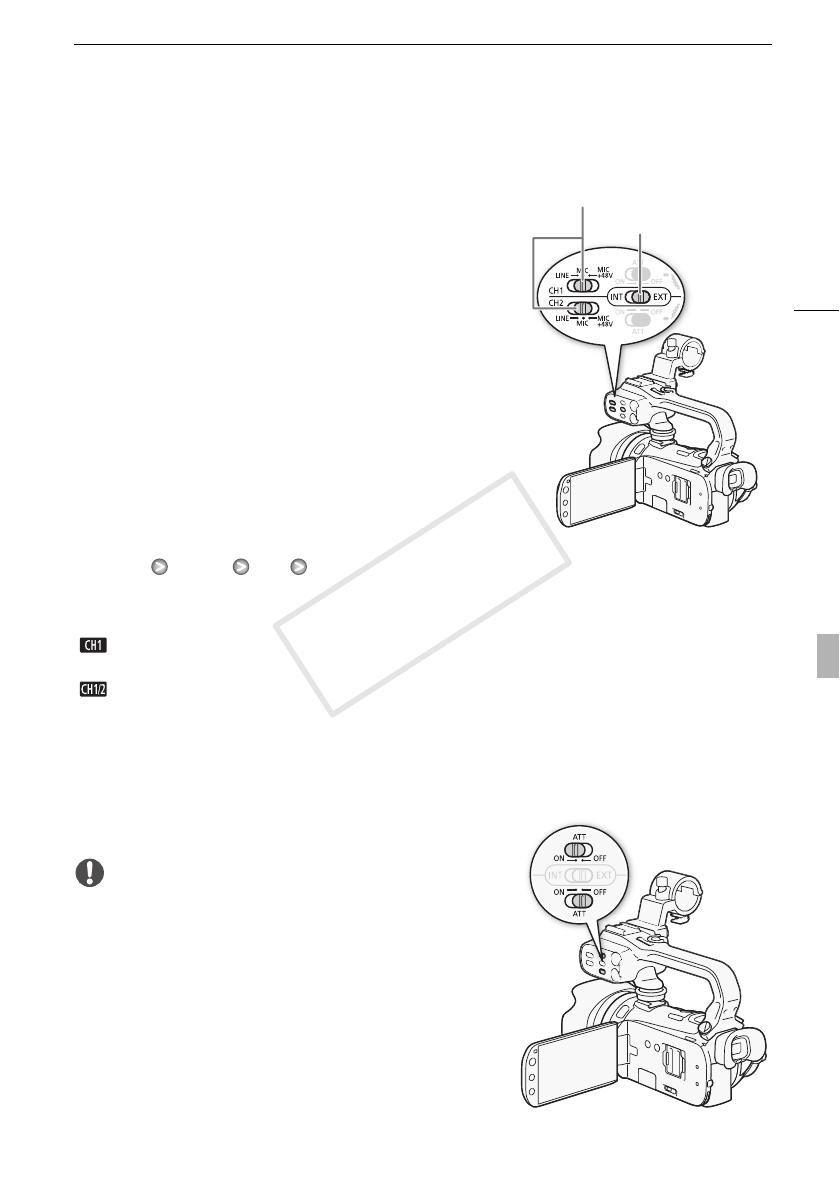
Setting the XLR Terminal
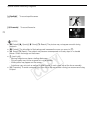
1 Set the audio input switch to EXT.
• Changing the position of the audio input switch affects
both channel 1 and channel 2 simultaneously.
2 Set the XLR terminal switch of the desired channel to LINE
or MIC.
• To supply a microphone with phantom power, set the
switch to MIC+48V instead. Make sure to connect the
microphone first, before turning the phantom power on.
Keep the microphone connected when turning off the
phantom power.
• When using the XLR terminal to record to only one
channel, use the CH1 input terminal and set the XLR
terminal switch for CH1 to LINE, MIC or MIC+48V.
Selecting the Recording Channel
You can select to which channel the camcorder will record
audio.
1 Open the [XLR Rec Channel] screen.
[FUNC.] [MENU] [4] [XLR Rec Channel]
2 Touch the desired option and then touch [a].
Options (
Default value)
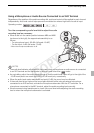
Activating the Microphone Attenuator
You can activate the external microphone’s attenuator (20 dB) if the XLR terminal switch is set to MIC
or MIC+48V.
Set the ATT switch of the desired channel to ON.
IMPORTANT
• When connecting a microphone or device that does not
support phantom power, make sure to set the XLR terminal
switch to MIC or LINE, respectively. If you set the switch to
MIC+48V, the microphone or device may be damaged.
[ CH1]Records audio to each channel separately. Audio input into CH1 is recorded to
channel 1, while audio input into CH2 is recorded to channel 2.
[ CH1/CH2] Audio input into CH1 is recorded to both channels. Audio input into CH2 will not be
recorded.
Audio input switch
XLR terminal switches
COPY


Find Your Products By Category
Please Login
