
5.0
Owner's of the JVC Camcorder GZR30BUS gave it a score of 5.0 out of 5. Here's how the scores stacked up:
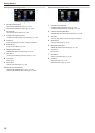
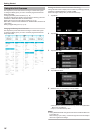
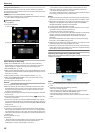
Clock Setting
The “SET DATE/TIME!” screen appears when you turn on this unit for the
first time after purchase, when it has not been used for a long time, or when
the clock is not set yet.
Set the clock before recording.
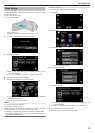
1
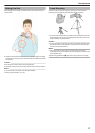
Open the LCD monitor.
.
0
The unit turns on.
0
When the LCD monitor is closed, the unit turns off.
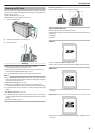
2
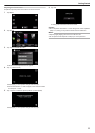
Tap “YES” when “SET DATE/TIME!” is displayed.
.
3
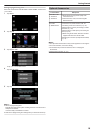
Set the date and time.
.
0
When the year, month, day, hour, or minute item is tapped, “3” and
“2” will be displayed.
0
Tap 3 or 2 to adjust the year, month, day, hour, and minute.
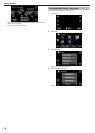
4
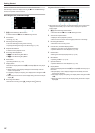
After setting the date and time, tap “SET”.
5
Select the region where you live and tap “SAVE”.
.
0
Time difference between the selected city and the GMT (Greenwich
Mean Time) is displayed.
0
Tap 0 or 1 to select the city name.
Memo :
0
The clock can be reset again later.
“Resetting the Clock” (A p. 15)
0
When using this unit overseas, you can set it to the local time for recording.
“Setting the Clock to Local Time when Traveling” (A p. 18)
0
The clock is reset about one month after the battery is depleted. “SET
DATE/TIME!” is displayed the next time you turn on this unit. Set the clock
again after charging the battery.
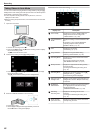
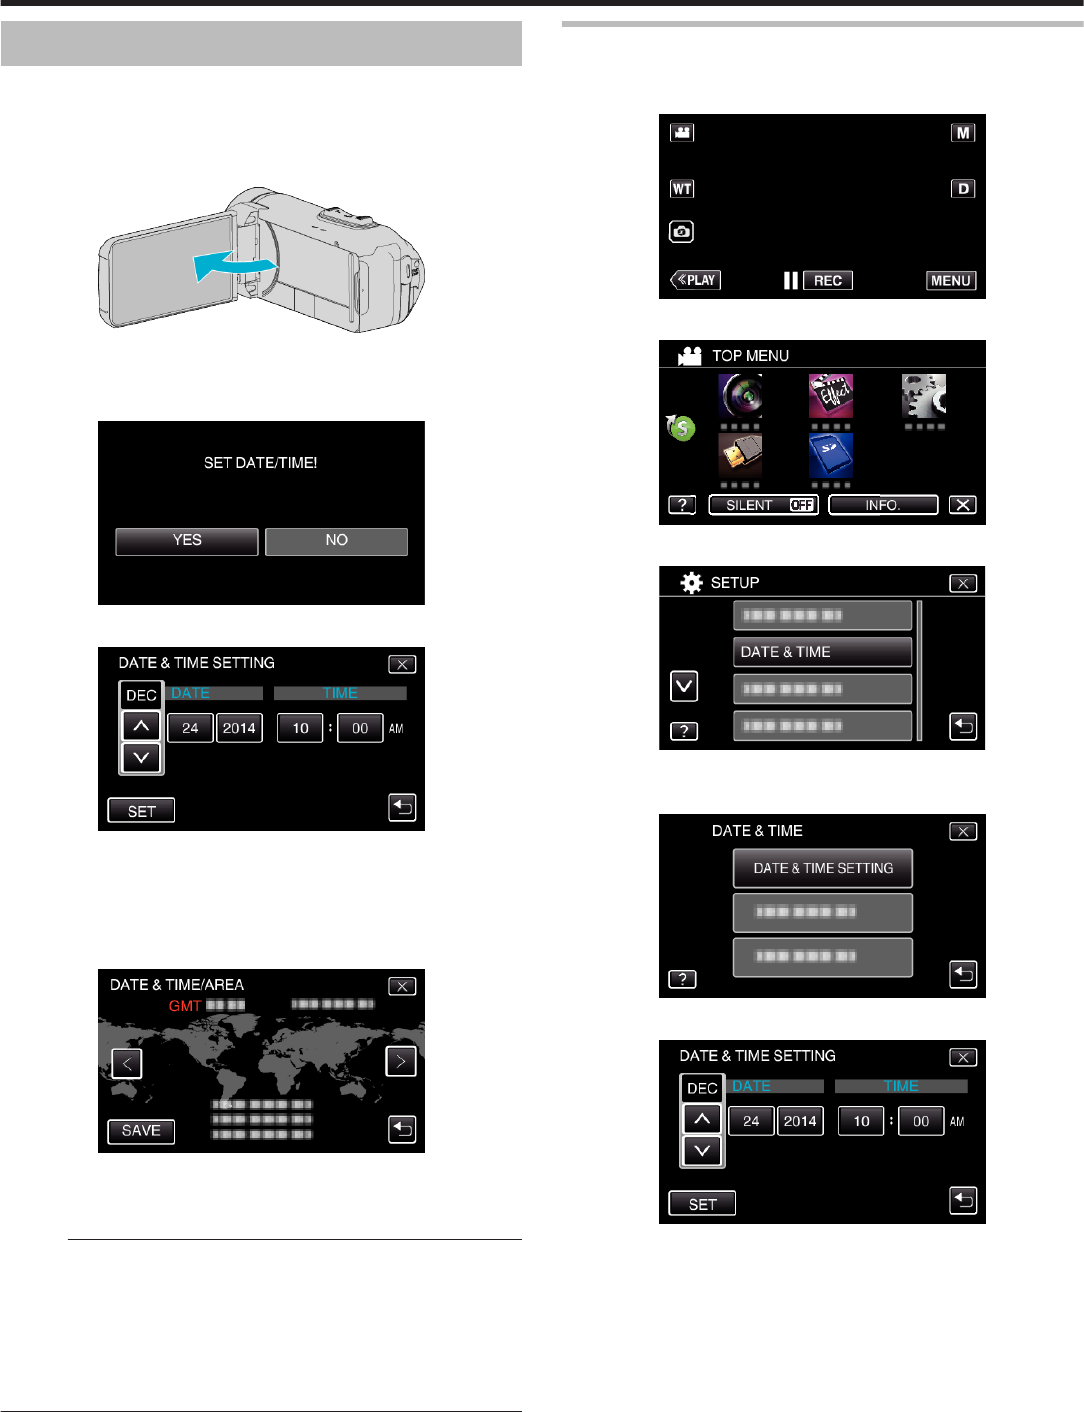
Resetting the Clock
Set the clock with “DATE & TIME” from the menu.
1
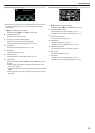
Tap “MENU”.
.
2
Tap “SETUP”.
.
3
Tap “DATE & TIME”.
.
0
Tap 3 or 2 to scroll the screen.
4
Tap “CLOCK SETTING”.
.
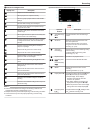
5
Set the date and time.
.
0
When the year, month, day, hour, or minute item is tapped, “3” and
“2” will be displayed.
0
Tap 3 or 2 to adjust the year, month, day, hour, and minute.
6
After setting the date and time, tap “SET”.
7
Select the region where you live and tap “SAVE”.
Getting Started
15


Find Your Products By Category
Please Login
