

0
Owner's of the CHIEF Pet Fence CHIEF Pet Fence gave it a score of 0 out of 5. Here's how the scores stacked up:
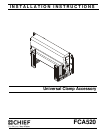


Installation Instructions FCA520
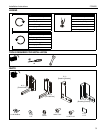
5
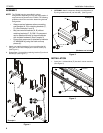
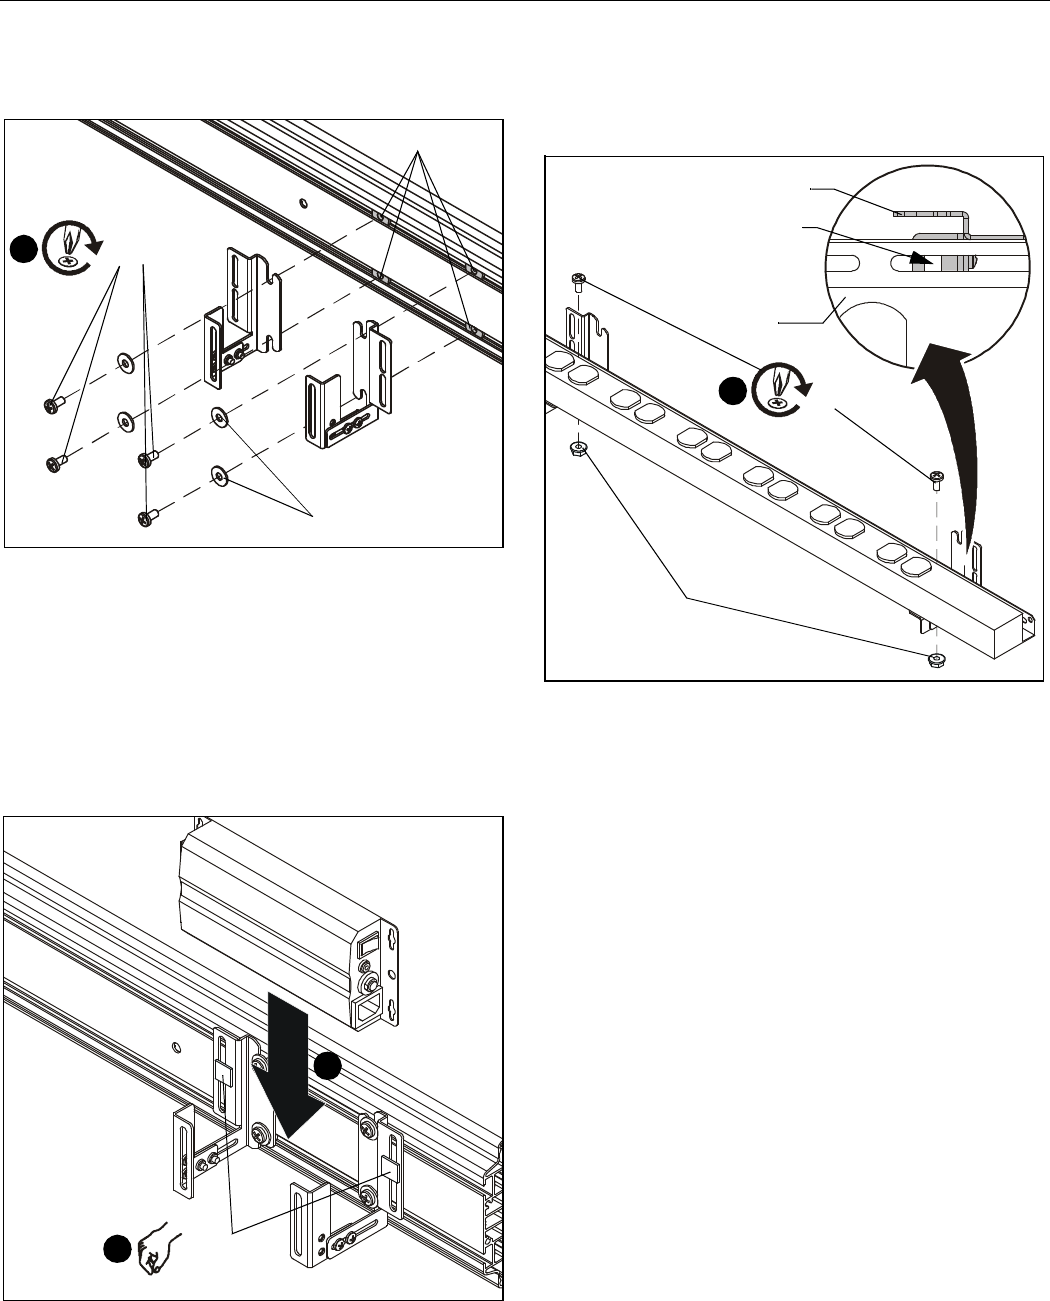
2. Attach configured brackets to weld nuts using four
1/4-20 x 1/2" Phillips pan head screw (J) and four 1/4" flat
washers (F) into installed weldnuts (E). (See Figure 4)
Figure 4
3. Put hook and loop squares (K) together to form two
squares.
4. Remove paper from one side of both squares.
5. Attach hook and loop squares to brackets. (See Figure 5)
6. Remove paper from hook and loop squares and place
component on brackets, pressing it against hook and loop
squares. (See Figure 5)
Figure 5
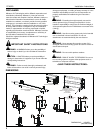
7. OPTIONAL (attaching power strip): Attach power strip
(not included) to bracket assemblies through slots in
retaining brackets and in power strip using two 1/4-20 x 1/2"
Phillips head screws (J) and two hex nuts with flange (G).
(See Figure 6)
Figure 6
weldnuts
2
(J) x 4
(F) x 4
6
(K) x 2
5
Top view
Bracket
Power
strip
(J) through
bracket and
power strip
2
(J) x 2
(G) x 2


Find Your Products By Category
Please Login
