
0
Owner's of the Panasonic Camcorder Memory Card Camera-Recorder gave it a score of 0 out of 5. Here's how the scores stacked up:


– 98 –
Chapter 5 Preparation — Mounting and adjusting the lens
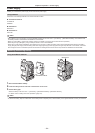
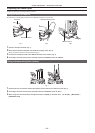
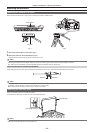
For a normal lens
Approximately 3 m
1
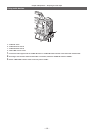
Mount the lens on the camera.
Make sure to connect the lens cable.
2
Set the lens iris to manual, and fully open the iris.
3
Place the flange back adjustment chart approximately 3 m from the lens and adjust the lighting on the chart to obtain an
appropriate image output level.
If the image level is too high, use the lters or the shutter.
4
Loosen the F.f (Flange focus) ring clamping screw.
5
Set the zoom ring to the telephoto end position, either manually or by electric drive.
6
Aim the lens at the flange back adjustment chart and turn the distance ring to bring the chart into focus.
7
Set the zoom ring to the wide-angle end position and turn the F.f (Flange focus) ring to bring into focus.
At this time, do not move the distance ring.
8
Repeat steps 5 to 7 until the lens is in focus at both the telephoto and wide-angle positions.
9
Firmly tighten the F.f (Flange focus) ring clamping screw.
@@
NOTE
t F.b (Lens ange back) ring may be indicated on some lenses as the F.f (lens ange focus) ring.
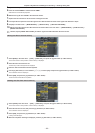
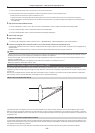
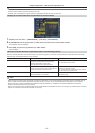
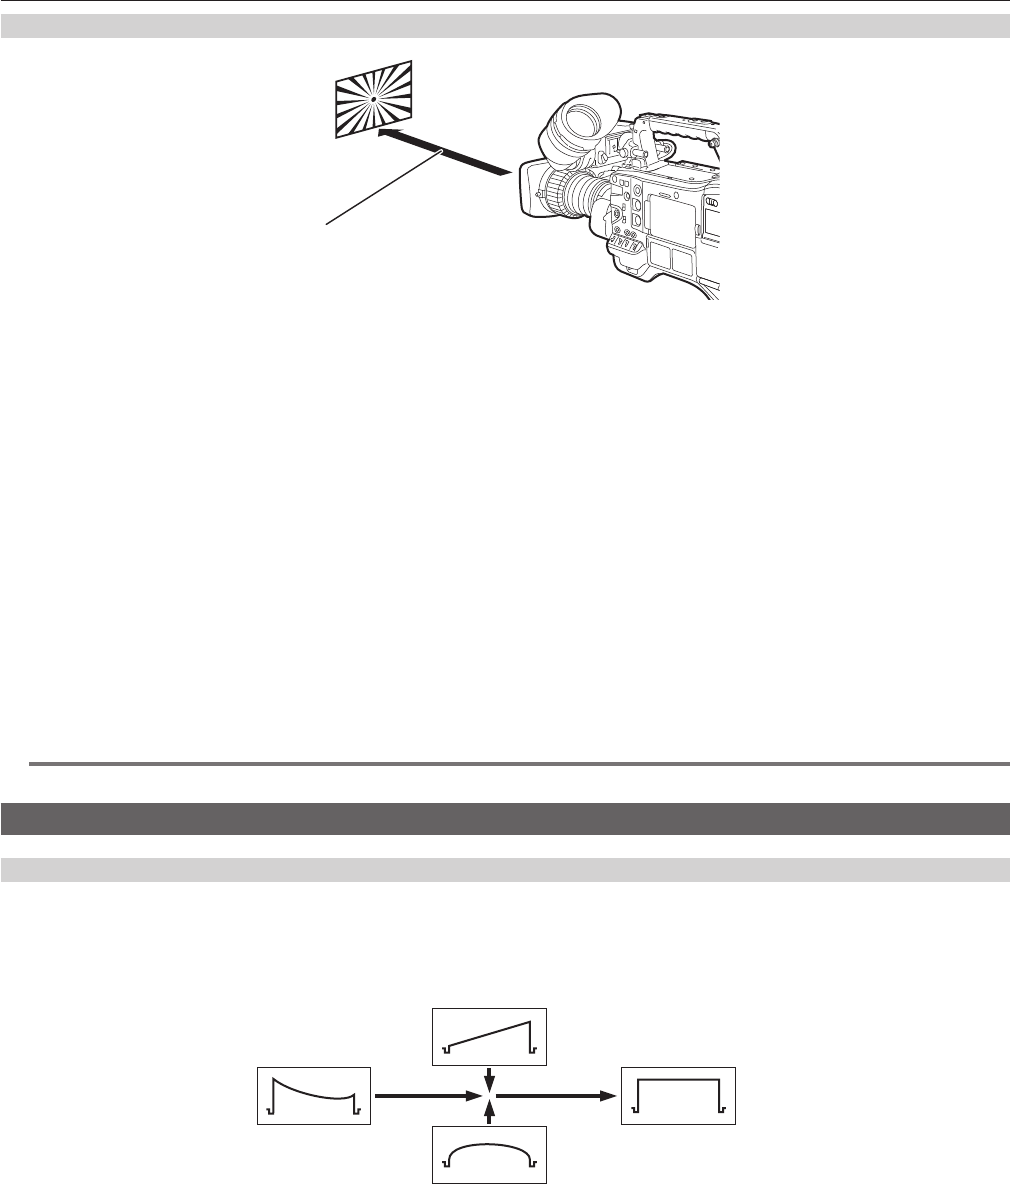
White shading compensation
Adjusting the white shading
This is a method of combining the sawtooth shaped waveform and parabola waveform to compensate to a atter waveform based on the respective R,
G and B waveforms of the video signal.
We recommend adjusting the R, G and B waveforms in the horizontal and vertical directions while monitoring them on the waveform monitor.
Be sure to set [DS.GAIN] and [D.ZOOM] to [OFF] before adjusting white shading.
H SAW
H PARA
Before white shading
compensation
After white shading
compensation
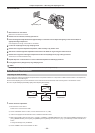
1
Set the camera for adjustment.
1) Mount the lens on the camera.
fMake sure to connect the lens cable.
2) Set the <SHUTTER> switch to <OFF>, and the <GAIN> switch to <L> (0 dB).
3) If the lens is equipped with an extender function, release the extender function.
4) Make sure that [HD] is set in the main menu → [PAINT] → [GAMMA] → [GAMMA MODE SEL]. Also, make sure that [ZEBRA1 DETECT] is set to
[70%], [ZEBRA2 DETECT] is set to [85%], and [ZEBRA2] is set to [SPOT] in the main menu → [VF] → [VF DISPLAY], and then close the menu
screen.
fChange the settings if they are different.
5) Set the <ZEBRA> switch in the viewfinder to <ON>.


Find Your Products By Category
Please Login
