
0
Owner's of the JVC Camcorder GZR70BUS gave it a score of 0 out of 5. Here's how the scores stacked up:

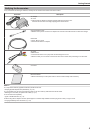
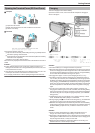
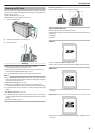
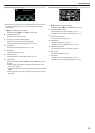
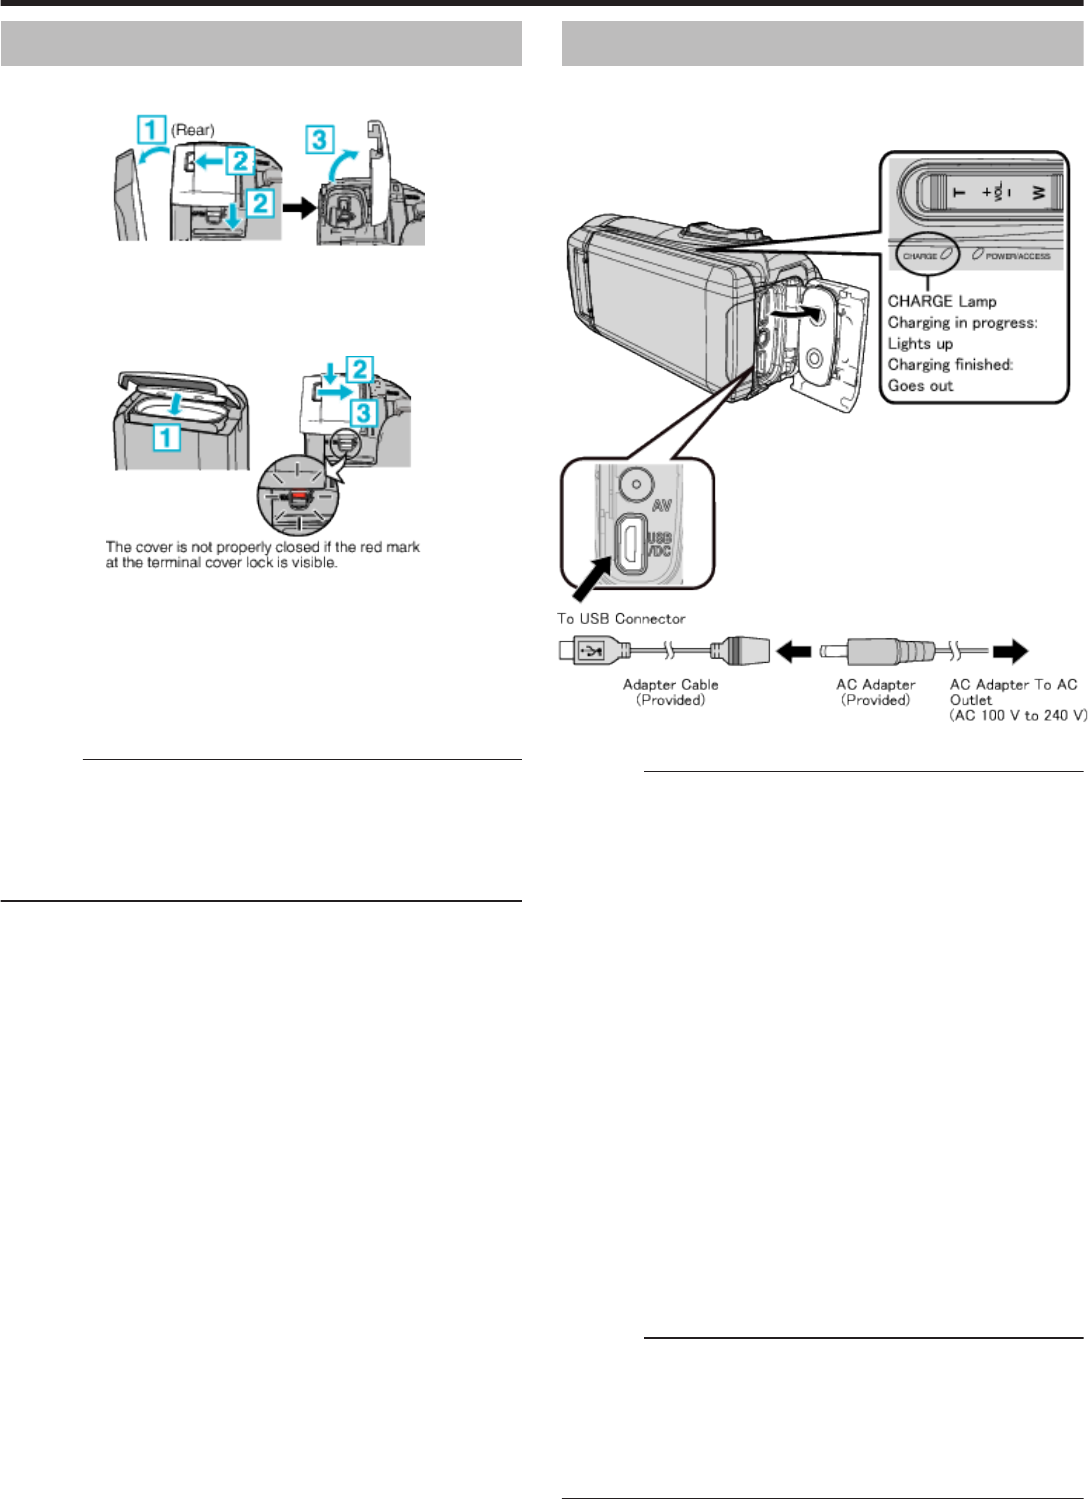
Opening the Terminal Cover (SD Card Cover)
o
To open
.
A
Open the LCD monitor.
B
Slide down the terminal cover lock and slide the cover aside.
C
Lift the cover slowly.
o
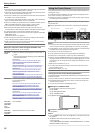
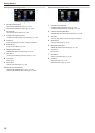
To close
.
Leave the LCD monitor open first.
A
Flip down the cover slowly while making sure the gray waterproof seal
fits into the opening at the terminals.
B
Press the entire cover against the camcorder with equal force and firmly
attach the cover completely.
C
Slide the cover until it clicks into place.
The cover is not properly closed if the red mark on the terminal cover lock is
visible.
Caution :
0
Ensure that the terminal cover and the gray waterproof seal are not
damaged and that there are no foreign materials (such as hair, lint, sand
or dust) adhered on the cover.
0
Stop using the unit underwater if there are damages to the cover, etc. and
consult your JVC dealer or the nearest JVC service center.
0
Do not apply excessive force when opening/closing the terminal cover.
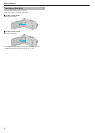
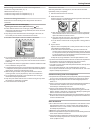
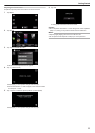
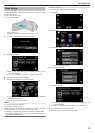
Charging
This unit is equipped with a built-in battery.
Open the connector cover, and connect the AC adapter for charging as
shown in the figure.
.
Caution :
0
The built-in battery is not charged at the time of purchase.
0
At the time of purchase or in case of the battery is not used for a long period
of time, the charging time will be longer than usual. The camera does not
turn on if the remaining battery power is low. In this case, charge the battery
for more than 20 minutes before turning on the power.
0
Charging time: Approx. 4 h 40 m (when charging at 25 ℃ (77 °F))
0
The battery cannot be charged outside the room temperature range of
10°C to 35°C (50°F to 95°F). The CHARGE lamp does not light up when
the battery is not being charged. If the temperature increases or decreases
during charging, the CHARGE lamp will blink slowly and charging will stop.
In this case, remove the AC adapter, press the Reset button and wait until
the room temperature is within the above stated range before charging
again.
0
You can record or play back videos during charging. (However, the
charging time will be longer than usual. In addition, the remaining battery
power may decrease according to conditions.) If the internal temperature
rises when using the unit, stop the charging temporarily. (The CHARGE
lamp goes off.)
0
If malfunctions (such as overvoltage) occur, charging will stop. In these
cases, CHARGE lamp blinks quickly as a notification.
0
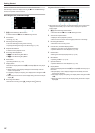
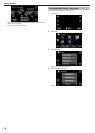
During charging, the
P
icon on the screen changes to
O
to indicate that
charging is in progress. (when the provided AC adapter is used)
0
When the recording time becomes extremely short even when the battery
is fully charged, the battery needs to be replaced. For details on replacing
the built-in battery (subject to a fee), consult the nearest JVC service
center.
Caution :
0
There are certain specifications for a USB rechargeable device. To
charge, use a device with the output voltage of 5 V/1 A or more.
0
Depending on the specification of your charging device and the thickness
and length of an USB cable used to connect to this unit, the charging time
may be longer than usual, or it may not even start.
0
We shall not be held liable for malfunctions that are due to using non-
standard device or a device with poor quality.
Getting Started
5


Find Your Products By Category
Please Login
