
0
Owner's of the JVC Camcorder GZR70BUS gave it a score of 0 out of 5. Here's how the scores stacked up:
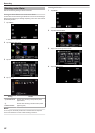
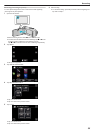

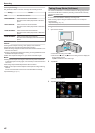
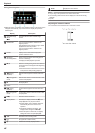
Time-Lapse Setting
The greater the number of seconds, the longer the recording interval.
Setting Details
OFF Deactivates the function.
1SEC INTERVAL Takes a frame at 1-second intervals.
Recorded videos will be played back at 30 times
speed.
5SEC INTERVAL Takes a frame at 5-second intervals.
Recorded videos will be played back at 150 times
speed.
20SEC INTERVAL Takes a frame at 20-second intervals.
Recorded videos will be played back at 600 times
speed.
80SEC INTERVAL Takes a frame at 80-second intervals.
Recorded videos will be played back at 2 400 times
speed.
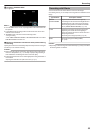
Caution :
0
During the time-lapse recording, video quality is set to XP mode.
0
Audio cannot be recorded during time-lapse recording.
0
When recording is stopped with the recorded time less than “0:00:00:17”, the
video will not be saved.
0
Zooming, simultaneous still image recording, and image stabilizer are not
available in time-lapse recording.
0
When Time-Lapse recording is set, you cannot record still images.
Memo :
0
Settings of time-lapse recording are reset when the power is turned off.
To start time-lapse recording again, it is necessary to make the selection
once more.
0
Recording stops automatically 99 hours after it is started.
0
Make use of a tripod and AC adapter for time-lapse recordings with long
intervals.
It is also recommended to fix the focus and white balance manually.
“Tripod Mounting” (A p. 17)
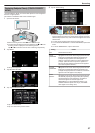
Taking Group Shots (Self-timer)
The 10-second self-timer is a convenient function for taking group photos.
The 2-second self-timer is useful for preventing camera shake caused by
pressing the shutter button.
Memo :
0
This function is available in still image recording mode.
When shooting a photo using the self-timer function, use of a tripod is
recommended.
“Tripod Mounting” (A p. 17)
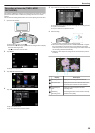
Using the 2-/10-second Self-timer
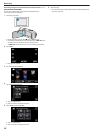
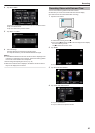
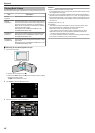
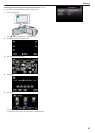
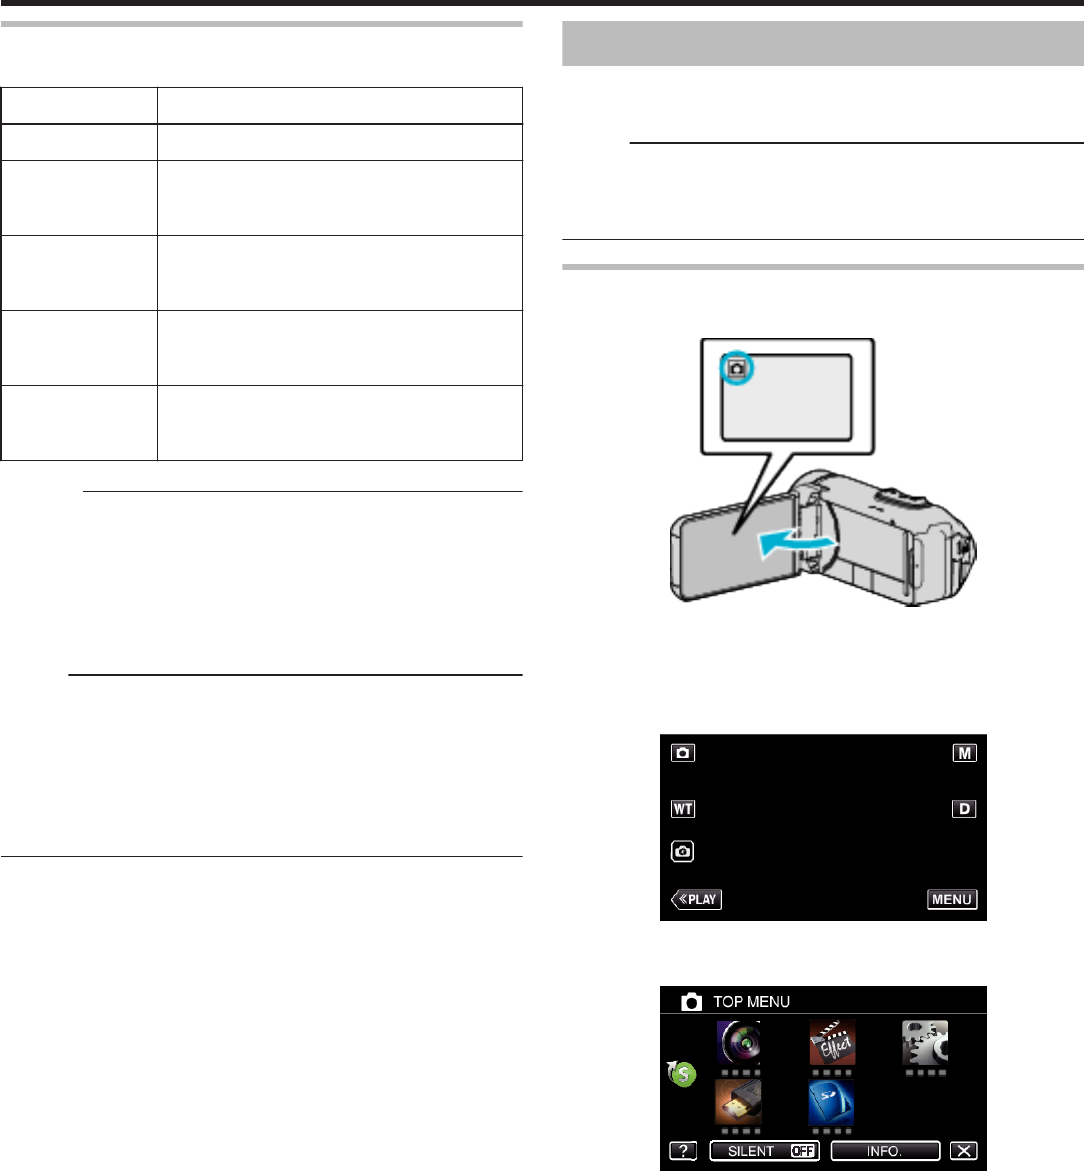
1
Open the LCD monitor.
.
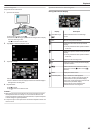
0
Check if the recording mode is B.
0
If the mode is A video, tap A on the recording screen to display the
mode switching screen.
Tap B to switch the mode to still image.
2
Tap “MENU”.
.
0
The top menu appears.
3
Tap “RECORD SETTING”.
.
Recording
40


Find Your Products By Category
Please Login
