
0
Owner's of the JVC Camcorder GZR70BUS gave it a score of 0 out of 5. Here's how the scores stacked up:
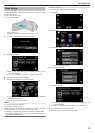
Taking Videos in Auto Mode
You can record without worrying about the setting details by using the P
Intelligent Auto mode. Settings such as exposure and focus will be adjusted
automatically to suit the shooting conditions.
0
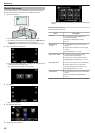
In case of specific shooting scenes such as person etc., its icon is
displayed on the screen.
0
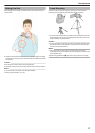
Before recording an important scene, it is recommended to conduct a trial
recording.
1
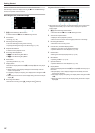
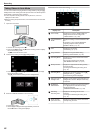
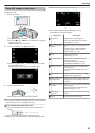
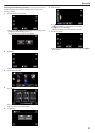
Open the LCD monitor.
.
0
Check if the recording mode is A.
0
If the mode is B still image, tap B on the recording screen to display
the mode switching screen.
Tap A to switch the mode to video.
2
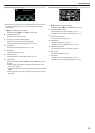
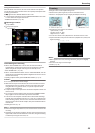
Check if the recording mode is P Intelligent Auto.
.
0
If the mode is H Manual, tap H on the recording screen to display
the mode switching screen.
Tap P to switch the recording mode to Intelligent Auto.
.
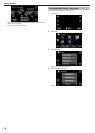
3
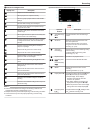
Press the START/STOP button to start recording.
.
0
Press again to stop.
0
Some displays disappear after approximately 3 seconds.
Use the n button to change the displays.
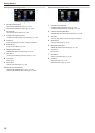
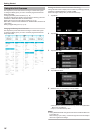
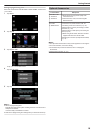
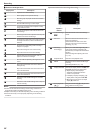
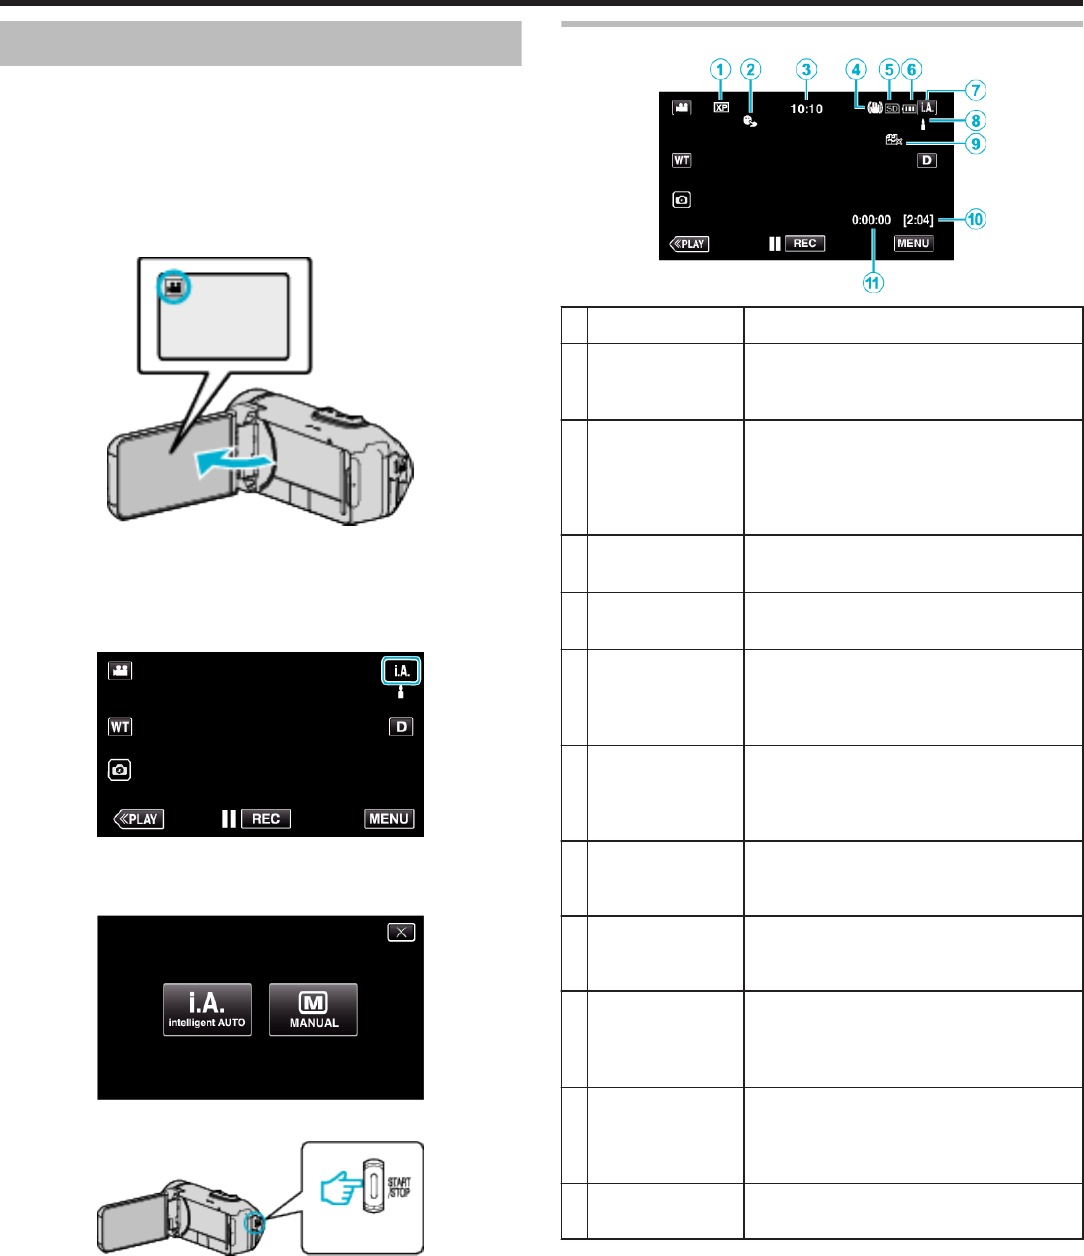
Indications for Video Recording
.
Display Icon Description
A
Video Quality Displays the icon of the “VIDEO QUALITY”
setting selected in the recording menu.
“ VIDEO QUALITY ” (A p. 84)
B
TOUCH PRIORITY
AE/AF
Displays the setting of “TOUCH PRIORITY AE/
AF”.
By default, it is set to “FACE TRACKING”.
“Capturing Subjects Clearly (TOUCH
PRIORITY AE/AF)” (A p. 37)
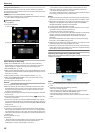
C
Time Displays the current time.
“Clock Setting” (A p. 15)
D
Image Stabilizer Displays the image stabilizer setting.
“Reducing Camera Shake” (A p. 38)
E
Recording Media Displays the icon of the media where videos
are recorded to.
The recording media can be changed.
“ REC MEDIA FOR VIDEO ” (A p. 97)
F
Battery Indicator Displays the approximate remaining battery
power during use.
“Checking the Remaining Recording Time”
(A p. 42)
G
Recording Mode Displays the current recording mode of P
(Intelligent Auto) or H (Manual).
Current shooting mode is displayed.
H
Setting Scenes of
Intelligent Auto
Displays scenes detected automatically in the
Intelligent Auto function. Multiple scenes may
be detected.
I
SEAMLESS
RECORDING
Displays the seamless recording icon when it
is set. q appears if seamless recording
cannot be performed.
“ SEAMLESS RECORDING ” (A p. 83)
J
Remaining
Recording Time
Displays the remaining time for video
recording.
“Checking the Remaining Recording Time”
(A p. 42)
K
Scene Counter
(Recorded Time)
Displays the elapsed time of the video that is
currently being recorded.
Recording
20


Find Your Products By Category
Please Login
