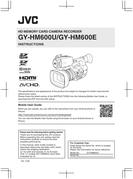

0
Owner's of the JVC Camcorder JVC Camcorder gave it a score of 0 out of 5. Here's how the scores stacked up:
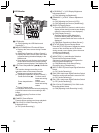


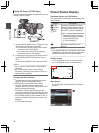


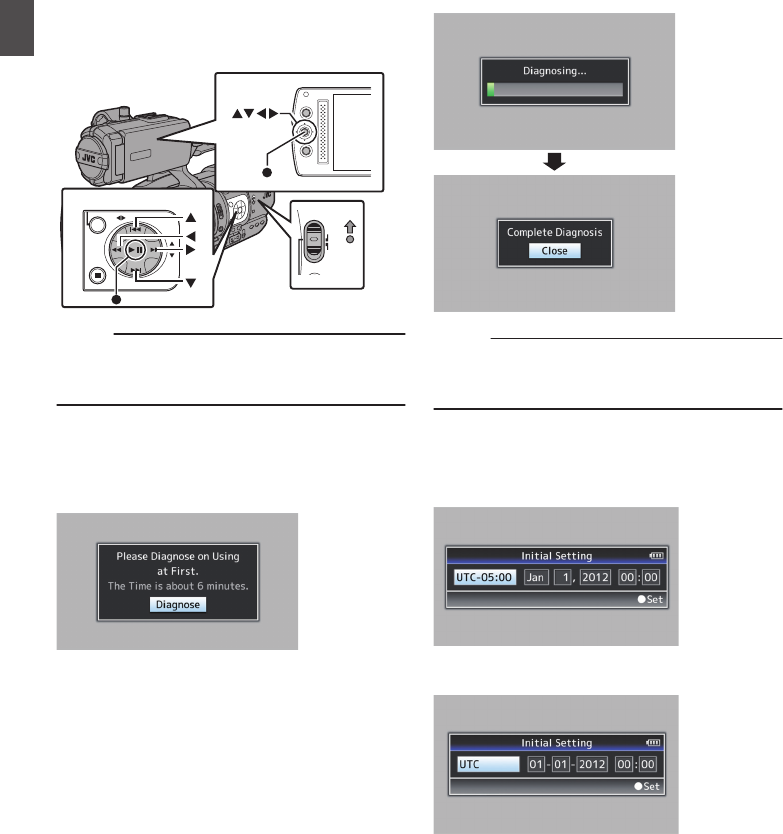
Initial Settings
When the power is first turned on, the Initial Setting
screen for performing the initial settings in the
camera recorder appears.
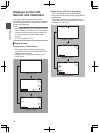
Set the date/time of the built-in clock in the [Initial
Setting] screen.
All operations are disabled until initial settings are
complete.
.
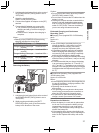
MODE
POWER
ON
OFF
(CHG)
AE LEVEL
MENU/THUMB
CANCEL
MENU/THUMB
CANCEL
Memo :
0
It is recommended to use the AC adapter as the
power supply.
0
Be sure to close the lens cover.
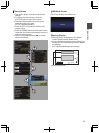
1
Hold down the lock button (blue) at the center of
the [POWER ON/OFF(CHG)] switch to set to
“ON”.
The Initial Setting screen appears.
.
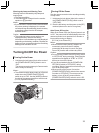
2
Ensure that the lens cover is closed, and press
the Set button (R).
0
Self-diagnosis starts.
0
A progress bar appears, and “Complete
Diagnosis” appears when the diagnosis is
complete.
.
Memo :
0
It takes about 6 minutes to complete the
diagnosis. During the diagnosis, do not operate
or turn off the camera recorder.
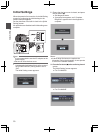
3
Press the Set button (R) after confirming the exit
screen.
The [Initial Setting] screen appears.
0
For GY-HM600U
.
0
For GY-HM600E
.
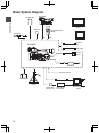
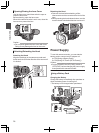
30
Preparations


Find Your Products By Category
Please Login
