
0
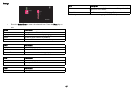
Owner's of the InFocus Projector IN2124a gave it a score of 0 out of 5. Here's how the scores stacked up:

56
1
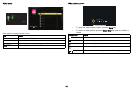
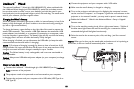
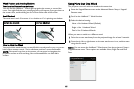
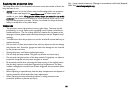
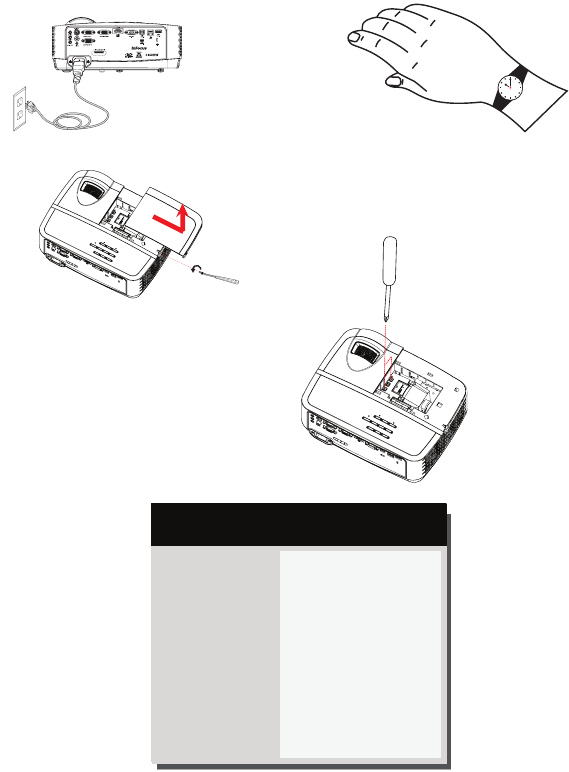
Turn off the projector and unplug the power cord.
2 Wait 60 minutes to allow the projector to cool thoroughly.
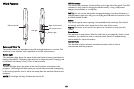
3 Remove the lamp door, located on top of the projector, by removing the
screw on the side of the lamp door, sliding the door forward, and lifting the
lamp door off.
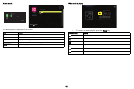
4 Loosen the captive screws that attach the lamp housing to the projector.
NOTE: If the projector is installed on a ceiling mount, be careful not to drop
the
lamp module once the captive screws are loosened.
5 Carefully lift the lamp straight up, off of the alignment pins; being careful not to
pinch the lamp connector. Dispose of the lamp in an environmentally proper
manner.
6 Install the new lamp module, aligning the pins properly. Be careful not to pinch
the lamp connector.
7 Tighten the screws. (NOTE: If the pins have not been aligned properly, the
screws will not tighten securely.)
8 Replace the lamp door by (a) aligning the hinges, (b) putting the lamp door
down and (c) locking it back into place.
9 Replace the lamp door screw and tighten securely.
10 Plug in the power cord and press the Power button to turn the projector back
on.
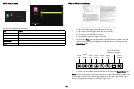
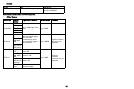
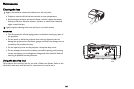
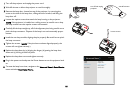
11 To reset the lamp hour timer, navigate to the Advanced Menu > Status/Service
menu and select Reset Lamp Hours....
turn off and unplug
projector
wait 60 minutes
loosen screws
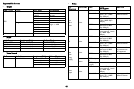
Image
Setup
Status/Service
Basic Menu
Source Info...
Projector Info...
Reset Lamp Hours...
Factory Reset...
Service Code...
( Advanced Menu )
MDL: IN2124a
FW: 1.10


Find Your Products By Category
Please Login
