
0
Owner's of the Denon MP3 Player Denon Professional Solid State Player gave it a score of 0 out of 5. Here's how the scores stacked up:


3
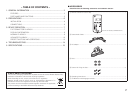
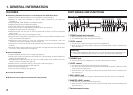
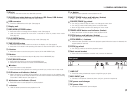
1. GENERAL INFORMATION
i
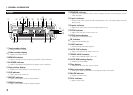
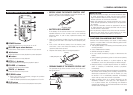
SD slot
• Insert an SD card into the slot, label side upwards.
o
SD/USB input select buttons and indicators (SD: Green, USB: Amber)
• Press either of the buttons to select an input source.
!0
USB connector
• Connect a USB device to this jack. (See page 9)
!1
Display unit
!2
DISP/MENU/STORE button
• Press this button to change the text display mode. (See page 8)
• Hold the button pressed for more than 2 seconds to enter in preset menu mode.
(See page 13)
!3
PLAY MODE button
• Press this button to select the track play mode. (See page 10)
!4
TIME/CLEAR button
• Press this button to select the time mode on the display unit. (See page 8)
• Press the A or B button while pressing this button to clear the A-B point or B point.
!5
A button
• Press this button to set the start point (A point) of the A-B REPEAT play.
!6
B button
• Press this button to set the end point (B point) of the A-B REPEAT play.
!7
EXIT/RELOOP button
• EXIT: Press this button to cancel the A-B REPEAT play.
• RELOOP: Press this button to restart the A-B REPEAT play.
!8
9 button
• Press this button to stop playback.
•
Press this button during preset menu setting to cancel input, and to enter in stop mode.
!9
CUE button and indicator (Amber)
• When this button is pressed during playback, the pickup returns to the playback start
point or to the top of the reserved track if the next track has been reserved by pressing
of the NEXT TRACK button. (See page 12)
@0
2/; button and indicator (Green)
• Press this button to start playback or pause playback.
@1
5 button
• Hold the button pressed to start playback as FR.
@2
6 button
• Hold the button pressed to start playback as FF.
@3
NEXT TRACK button and indicator (Amber)
• Pre thi utt t re er e the e t tr k
@4
FOLDER/TRACK jog wheel
• Turn the jog wheel to skip the track or to change the menu item.
• Turn the jog wheel while holding down to skip the folder.
• Push the jog wheel to confirm the settings in menu mode.
@5
TEMPO LOCK button and indicator (Amber)
• Press this button to lock the pitch of the playback sound.
@6
PITCH button and indicator (Amber)
• Press this button to switch the PITCH control ON or OFF.
@7
PITCH BEND +/− buttons
• Hold the button pressed to control the playback speed. When the button is released, the
original speed is resumed.
@8
PITCH jog wheel
• Turn the jog wheel to control the playback speed.
@9
Rack mount bracket
• If the unit is not mounted to a 19-inch rack, remove the brackets.
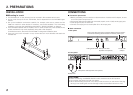
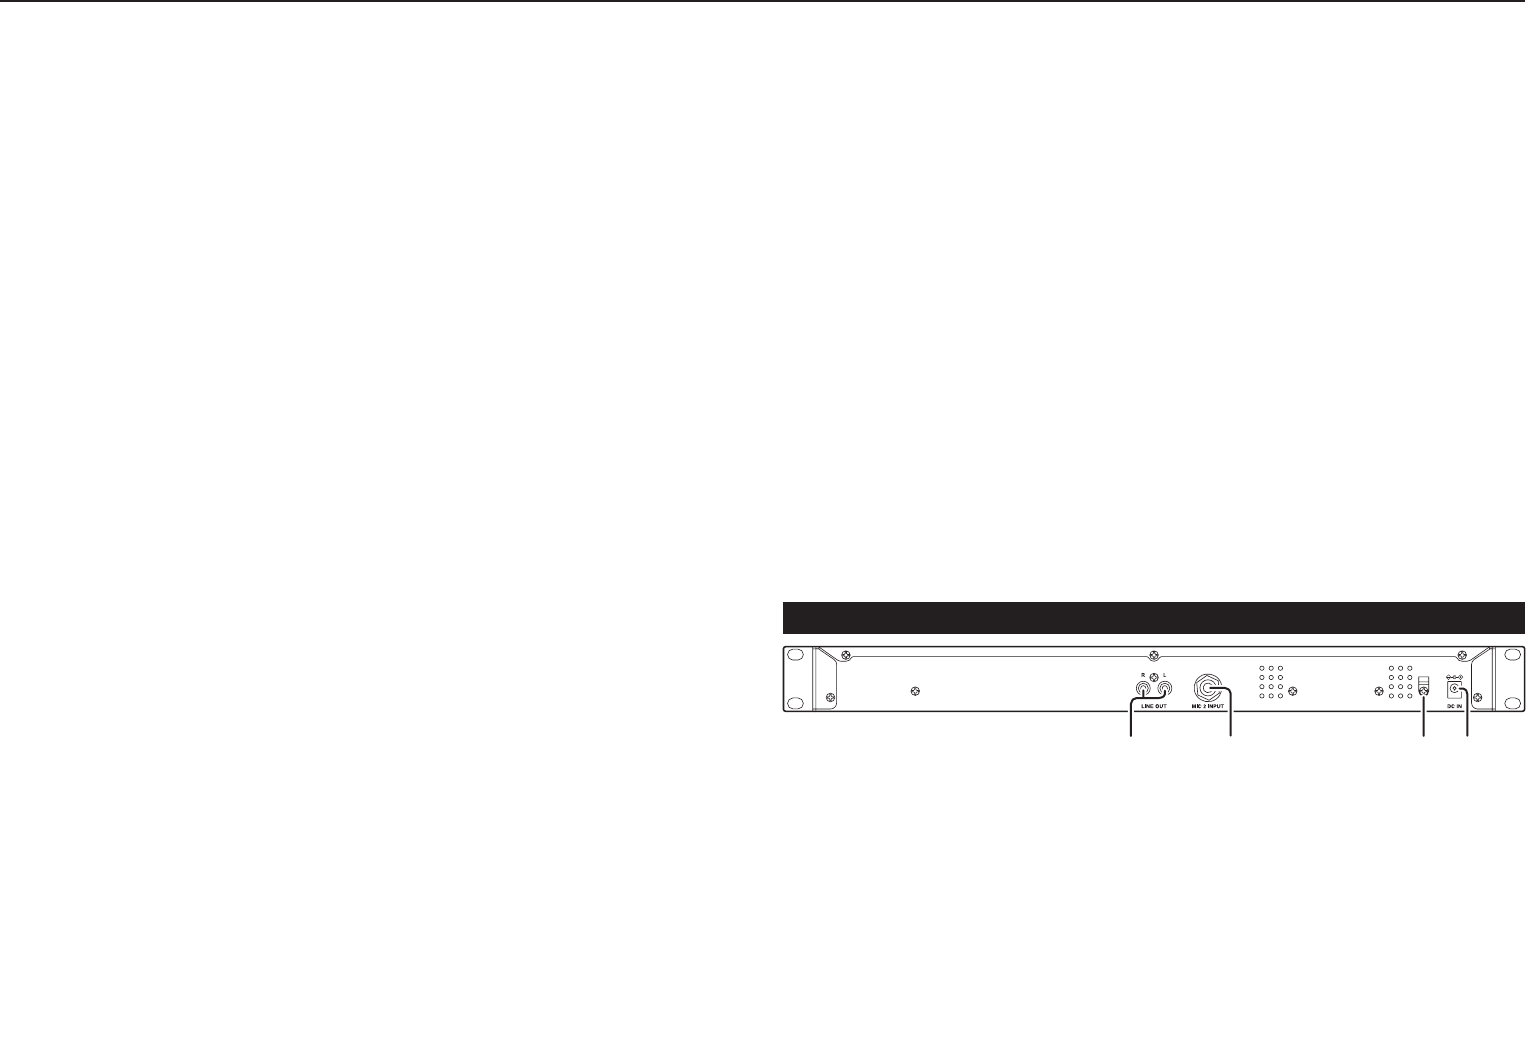
Rear panel
zx vc
z
LINE OUT
• These are analog unbalanced outputs using RCA type pin jacks.
x
MIC2 INPUT jack
• Connect a microphone. (Monaural phone 1/4" jack, dynamic microphone)
c
DC power cord clamper
v
DC power inlet
• Connect the included AC power adaptor.


Find Your Products By Category
Please Login
