
0
Owner's of the Canon Camcorder XF200 gave it a score of 0 out of 5. Here's how the scores stacked up:
Preparing the Camcorder
32
Preparing the Camcorder
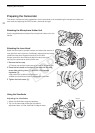
This section outlines the basic preparations for the camcorder, such as attaching the microphone holder and
lens hood and adjusting the OLED screen, viewfinder and grip.
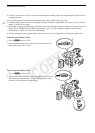
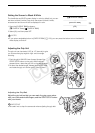
Attaching the Microphone Holder Unit
Use the supplied screws to attach the microphone holder unit to the
handle.
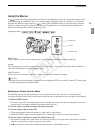
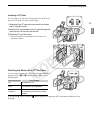
Attaching the Lens Hood
Attach the lens hood to protect the lens and reduce the amount of
stray light that may hit the lens. Additionally, keeping the lens barrier
closed can help avoid fingerprints and dirt on the lens.
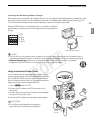
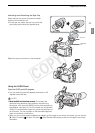
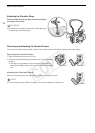
Always remove the lens hood and attach the lens cap when
carrying the camcorder or storing it after use.
1 Remove the lens cap.
• The lens cap and lens hood cannot be used at the same time.
2 Place the lens hood on the front of the lens with the lock
screw side pointing down
(ቢ) and turn it 90 degrees
clockwise
(ባ).
• Be careful not to deform the lens hood.
• Make sure that the lens hood is aligned with the thread.
3 Tighten the lock screw (ቤ).
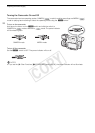
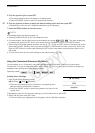
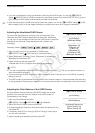
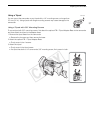
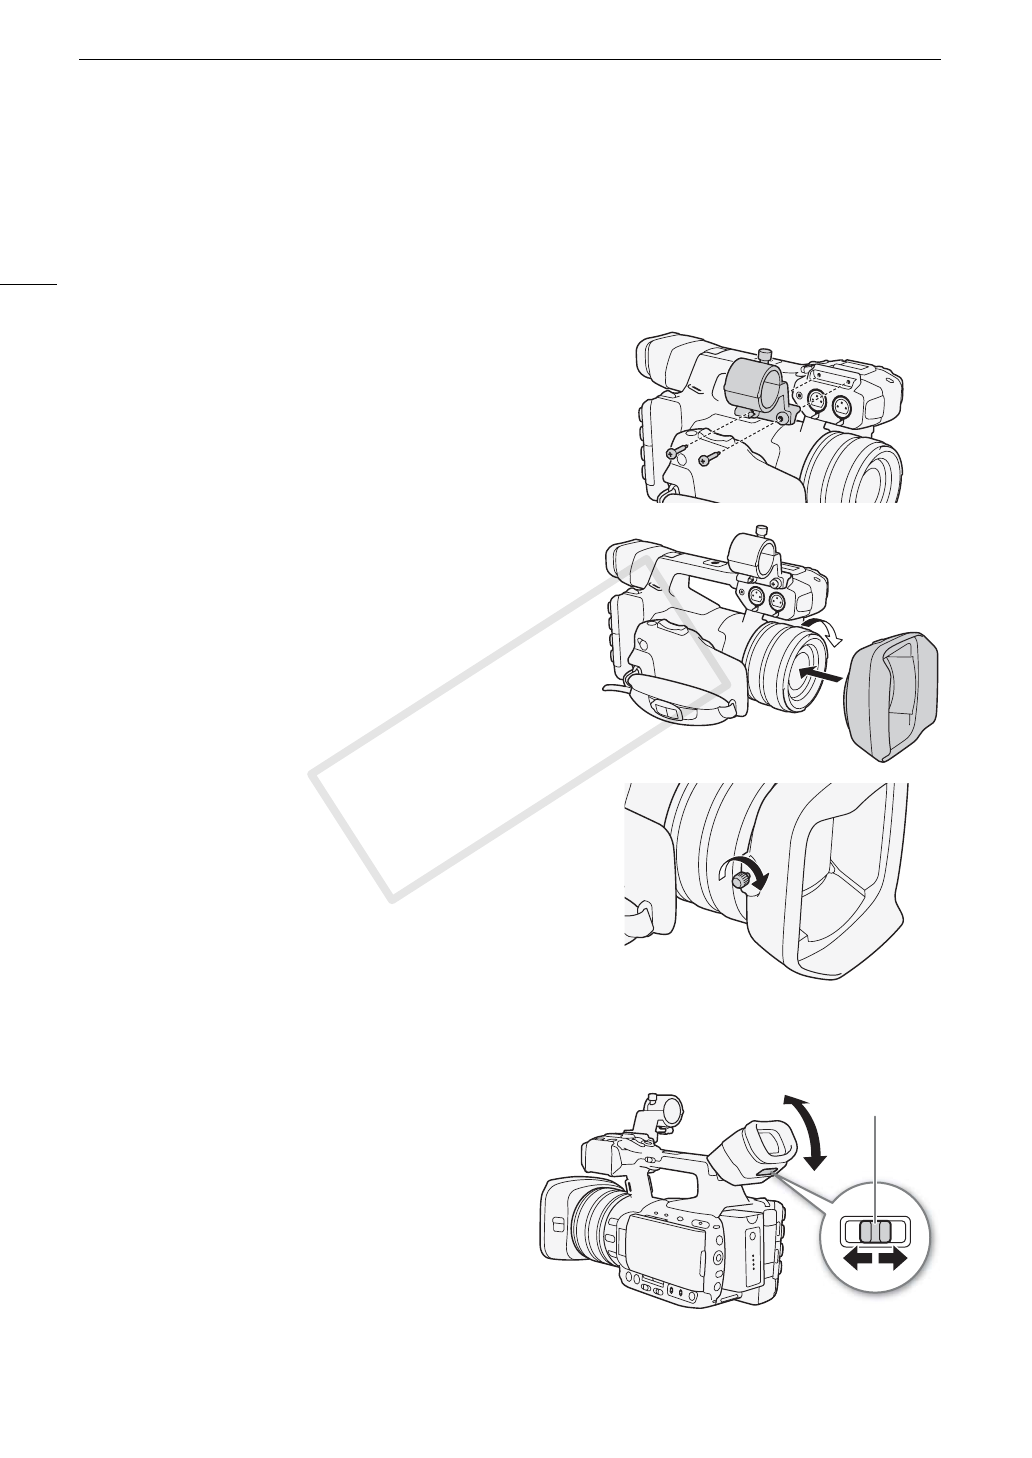
Using the Viewfinder
Adjusting the Viewfinder
1 Adjust the viewfinder’s angle as necessary.
2 Turn on the camcorder and adjust the dioptric
adjustment lever until the viewfinder’s image is sharp.
ቢ
ባ
ቤ
ቢ
ባ
Dioptric
adjustment lever
C OPY


Find Your Products By Category
Please Login
