
0
Owner's of the Canon Camcorder XF300 gave it a score of 0 out of 5. Here's how the scores stacked up:


Recording
64
3
Shutter Speed
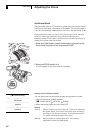
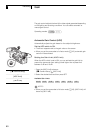
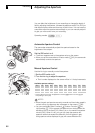
Changing the Shutter Speed Mode
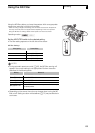
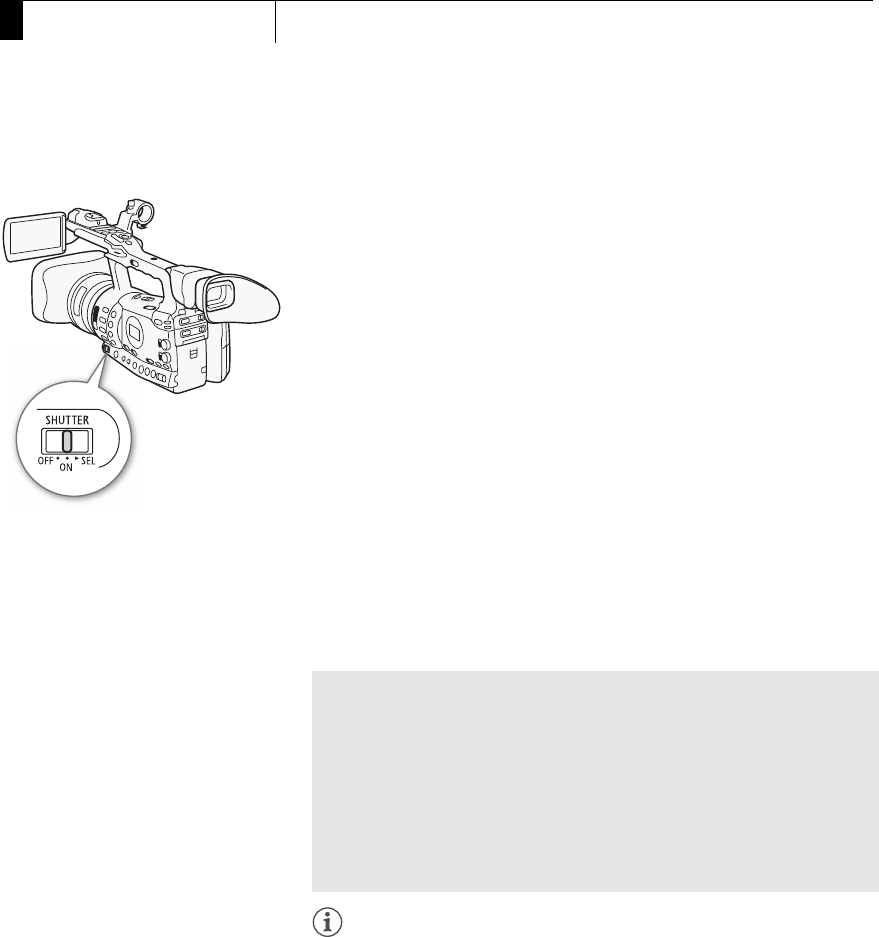
1 Set the SHUTTER switch to ON.
• The shutter speed displayed on the bottom of the screen changes
depending on the mode. For modes other than auto, the setting
appears highlighted in orange.
2 Slide the SHUTTER switch toward SEL to change the mode.
• Repeat step 2 until the desired mode is reached. The shutter speed
mode changes in the following order:
Auto Speed Angle Clear Scan Slow Shutter
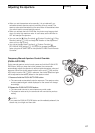
• If you selected auto mode, the rest of this procedure is not
necessary.
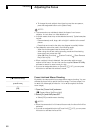
3 Use the joystick or turn the SELECT dial to adjust the setting.
• For clear scan mode, adjust the frequency so that black bands do
not appear.
4 Press SET.
• The orange frame will disappear. The selected setting and shutter
speed mode will be set.
• To change the mode again, start from step 2.
NOTES
• When you record under bright conditions using automatic aperture
control, the camcorder closes down the aperture. This may cause the
picture to appear blurred. To prevent this, set the shutter speed to
1/100 or faster.
• When you set the camcorder to full auto mode (0 45), the shutter
speed mode will be set to auto.
• When the gain and aperture are set to manual and the shutter speed is
not set to auto, the exposure bar will appear on the screen (0 62).
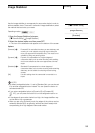
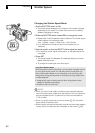
Using Slow Shutter Mode
When recording in dark surroundings, you can obtain a brighter picture
by using slow shutter mode. You can also use this mode when you
wish to add certain effects to your recordings, such as blurring the
background during panning shots or recording a moving subject with
an afterimage trail.
• Image quality may not be as good as when using faster shutter
speeds in brighter surroundings.
• Autofocus may not work well.


Find Your Products By Category
Please Login
